如何用 Swift 使用 MBProgressHUD?
在 Swift 中使用 MBProgressHUD 需先创建一个 podfile(如果尚不存在)。
打开终端,将目录更改为项目目录,然后初始化 pod,接着安装 MBProgressHUD。
cd /projectDirectory
pod init
open podfile
然后在 podfile 中添加以下行,回到终端,然后在同一目录中运行以下命令。
pod 'MBProgressHUD', '~> 1.1.0'
pod install
运行完这些命令后,MBProgressHUD 将安装到你的项目中,现在可以在 ViewController 中导入此库,或者你可以创建一个 UIView 控制器的扩展,并使用此方法。
让我们通过两种不同的方法来实现此目的,这两种方法都会产生相同的结果。
1. 添加到 ViewDidLoad
let Indicator = MBProgressHUD.showAdded(to: self.view, animated: true)
Indicator.label.text = "Indicator"
Indicator.isUserInteractionEnabled = false
Indicator.detailsLabel.text = "fetching details"
Indicator.show(animated: true)
类似地,可以使用以下内容从视图中隐藏指示器。
MBProgressHUD.hide(for: self.view, animated: true)
我们来看看第二种实现方法。
2. 创建一个扩展,使其具有全局访问性。
extension UIViewController {
   func showIndicator(withTitle title: String, and Description:String) {
      let Indicator = MBProgressHUD.showAdded(to: self.view, animated: true)
      Indicator.label.text = title
      Indicator.isUserInteractionEnabled = false
      Indicator.detailsLabel.text = Description
      Indicator.show(animated: true)
   }
   func hideIndicator() {
      MBProgressHUD.hide(for: self.view, animated: true)
   }
}
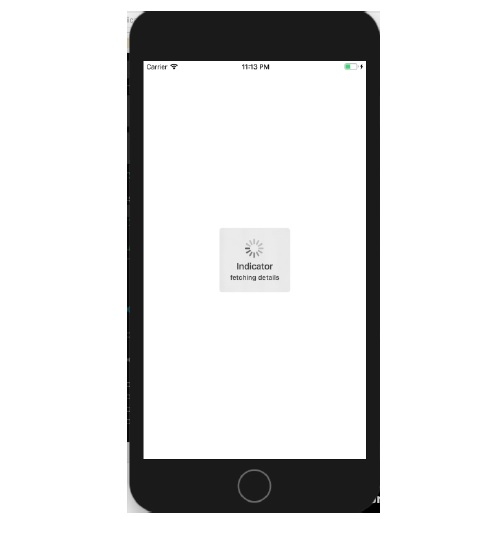
当我们在设备上运行其中任何一个命令时,会得到以下结果。


广告

 数据结构
数据结构 网络
网络 关系型数据库管理系统
 操作系统
操作系统 Java
Java iOS
iOS HTML
HTML CSS
CSS Android
 Python
 C 编程
C 编程 C++
C++ C#
C# MongoDB
 MySQL
MySQL Javascript
 PHP
PHP