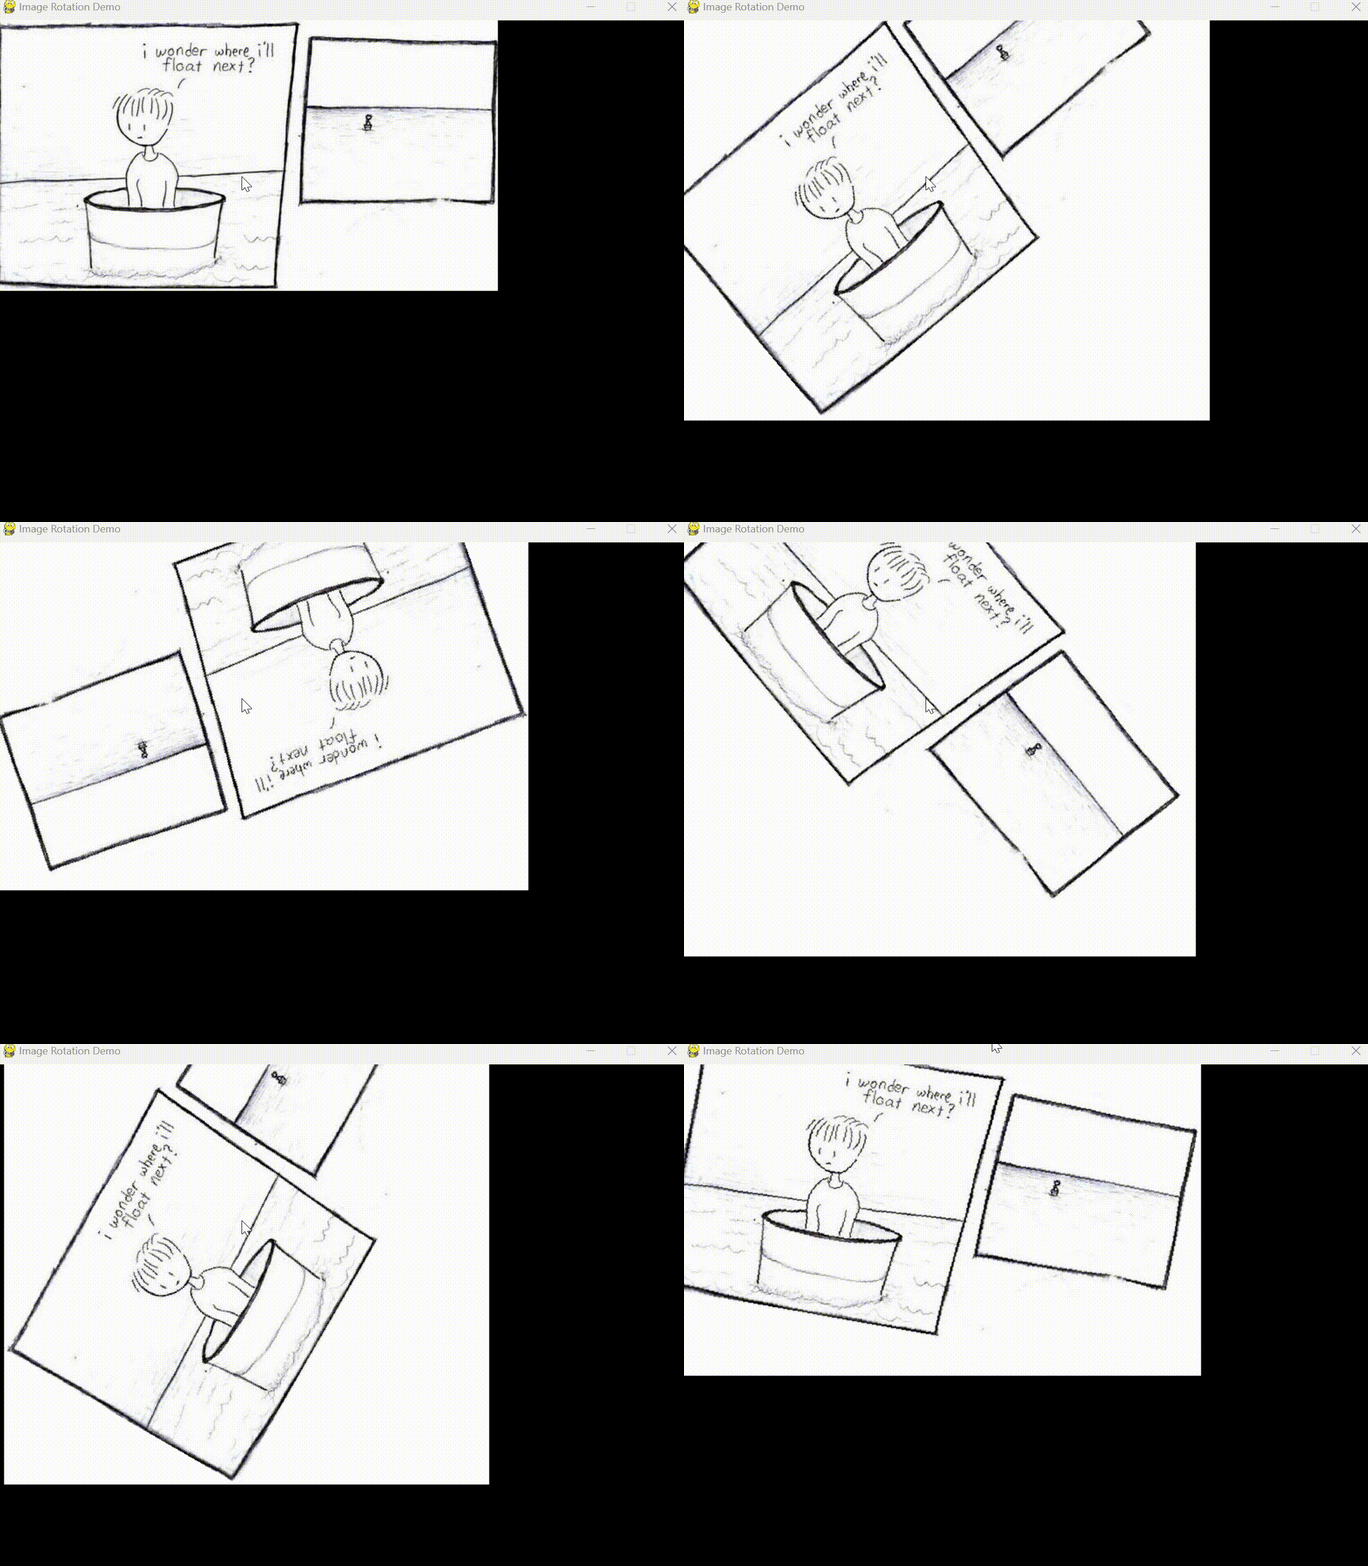
如何在Pygame中使用鼠标缩放和旋转图像?
Pygame是一个强大的库,用于在Python中创建2D游戏和图形应用程序。它提供了广泛的功能,包括操作和转换图像的能力。在本文中,我们将探讨如何使用鼠标在Pygame中缩放和旋转图像。
先决条件
在了解缩放和旋转图像的过程之前,务必了解Pygame及其事件处理机制的基础知识。另外,请确保已在您的Python环境中安装Pygame。您可以使用以下命令使用pip安装它:
pip install pygame
设置Pygame窗口
首先,让我们创建一个Pygame窗口来显示我们的图像并处理鼠标事件。我们可以从导入Pygame模块开始:
import pygame
import sys
初始化Pygame并创建一个具有特定宽度和高度的窗口:
我们将宽度和高度变量分别设置为800和600,但您可以根据需要调整这些值。现在,我们需要处理主游戏循环,该循环将持续更新窗口:
while True:
    for event in pygame.event.get():
        if event.type == pygame.QUIT:
            pygame.quit()
            sys.exit()
游戏循环使窗口保持打开状态,直到用户单击关闭按钮将其关闭。如果用户单击关闭按钮,我们将通过调用pygame.quit()和sys.exit()来退出程序。
加载和显示图像
要加载和显示图像,我们需要将其导入到我们的Pygame程序中。将图像文件放在与Python脚本相同的目录中。在本例中,我们假设图像文件名为“image.png”。我们可以使用以下代码加载和显示图像:
pygame.image.load()函数加载图像文件,而image.get_rect()返回一个矩形对象,表示图像的尺寸和位置。我们使用screen.blit()函数将图像绘制到屏幕表面上。最后,pygame.display.flip()更新显示以显示图像。
image = pygame.image.load("image.png")
image_rect = image.get_rect()
screen.blit(image, image_rect)
pygame.display.flip()
缩放图像
现在显示图像后,让我们继续使用鼠标缩放它。我们将使用鼠标滚轮来控制缩放因子。
示例
在下面的示例中,我们使用scale_factor变量来跟踪图像的缩放比例。当鼠标滚轮向上滚动(event.button == 4)时,我们将scale_factor增加0.1。相反,当滚轮向下滚动(event.button == 5)时,我们将scale_factor减少0.1。
然后,我们使用pygame.transform.scale()函数根据scale_factor调整原始图像的大小。缩放图像的宽度和高度是通过将原始尺寸乘以scale_factor计算得出的。
scaled_image_rect被更新以确保图像在缩放后保持居中。我们使用screen.fill((0, 0, 0))清除屏幕以删除之前的图像,然后使用screen.blit()绘制缩放后的图像。
import pygame
import sys

# Initialize Pygame
pygame.init()

# Set up the Pygame window
width, height = 800, 600
screen = pygame.display.set_mode((width, height))
pygame.display.set_caption("Image Scaling Demo")

# Load and display the image
image = pygame.image.load("image.png")
image_rect = image.get_rect()
screen.blit(image, image_rect)
pygame.display.flip()

# Set up scaling variables
scale_factor = 1.0

# Game loop
while True:
    for event in pygame.event.get():
        if event.type == pygame.QUIT:
            pygame.quit()
            sys.exit()
        elif event.type == pygame.MOUSEBUTTONDOWN:
            if event.button == 4:  # Scrolling up
                scale_factor += 0.1
            elif event.button == 5:  # Scrolling down
                scale_factor -= 0.1

    scaled_image = pygame.transform.scale(
        image, (int(image_rect.width * scale_factor), int(image_rect.height * scale_factor))
    )
    scaled_image_rect = scaled_image.get_rect(center=image_rect.center)

    screen.fill((0, 0, 0))  # Clear the screen
    screen.blit(scaled_image, scaled_image_rect)
    pygame.display.flip()
输出

注意:运行此代码时,它将在Pygame窗口中显示图像。您可以使用鼠标滚轮向上和向下缩放图像。向上滚动将比例增加0.1,向下滚动将比例减少0.1。缩放后的图像将持续更新并在Pygame窗口中显示。
旋转图像
现在,让我们使用鼠标实现旋转功能。我们将使用鼠标移动来控制旋转角度。
示例
在下面的示例中,我们使用rotation_angle变量来跟踪图像的旋转。当鼠标在按下左键时移动(event.type == pygame.MOUSEMOTION and pygame.mouse.get_pressed()[0]),我们将根据相对的x坐标移动(event.rel[0])调整rotation_angle。将其除以10可以提供更流畅的旋转体验。
pygame.transform.rotate()函数用于根据rotation_angle旋转缩放后的图像。与缩放类似,我们更新rotated_image_rect以使图像在旋转后保持居中。
import pygame
import sys

# Initialize Pygame
pygame.init()

# Set up the Pygame window
width, height = 800, 600
screen = pygame.display.set_mode((width, height))
pygame.display.set_caption("Image Rotation Demo")

# Load and display the image
image = pygame.image.load("image.png")
image_rect = image.get_rect()
screen.blit(image, image_rect)
pygame.display.flip()

# Set up rotation variables
rotation_angle = 0.0

# Game loop
while True:
    for event in pygame.event.get():
        if event.type == pygame.QUIT:
            pygame.quit()
            sys.exit()
        elif event.type == pygame.MOUSEBUTTONDOWN:
            if event.button == 4:  # Scrolling up
                rotation_angle += 10
            elif event.button == 5:  # Scrolling down
                rotation_angle -= 10

    rotated_image = pygame.transform.rotate(image, rotation_angle)
    rotated_image_rect = rotated_image.get_rect(center=image_rect.center)

    screen.fill((0, 0, 0))  # Clear the screen
    screen.blit(rotated_image, rotated_image_rect)
    pygame.display.flip()
输出

结论
在本文中,我们讨论了如何在Pygame中使用鼠标缩放和旋转图像。通过使用鼠标滚轮,我们可以动态调整缩放因子并实时查看图像变换。类似地,通过跟踪鼠标移动和点击,我们可以轻松旋转图像,提供互动性和引人入胜的用户体验。


 数据结构
数据结构 网络
网络 关系数据库管理系统 (RDBMS)
 操作系统
操作系统 Java
Java iOS
iOS HTML
HTML CSS
CSS Android
 Python
 C语言编程
C语言编程 C++
C++ C#
C# MongoDB
 MySQL
MySQL Javascript
 PHP
PHP