OpenCV Python – 如何使用鼠标事件绘制圆形?
有不同类型的鼠标事件,例如左键或右键单击、鼠标移动、左键双击等。OpenCV 为我们提供了不同类型的鼠标事件,例如用于鼠标左键按下事件的 **cv2.EVENT_LBUTTONDOWN**、用于右键按下事件的 **cv2.EVENT_RBUTTONDOWN**、用于左键双击事件的 **cv2.EVENT_LBUTTONDBLCLK** 等。
鼠标事件返回鼠标事件的坐标 (x,y)。为了在事件发生时执行操作,我们定义了一个鼠标 **回调函数**。我们使用鼠标事件在图像上绘制圆形。
步骤
要使用鼠标事件绘制圆形,请按照以下步骤操作:
导入所需的库 **OpenCV**。确保您已安装它。
创建一个黑色图像。我们在此黑色图像上绘制圆形。我们还可以使用 **cv2.imread()** 方法读取图像并在其上绘制圆形。
定义一个鼠标 **回调函数** 以在图像上绘制圆形。当鼠标事件发生时,将执行鼠标 **回调函数**。鼠标事件给出鼠标事件的坐标。在这里,我们定义了一个鼠标 **回调函数**,以便在鼠标左键按下时绘制圆形。
创建一个窗口并将鼠标 **回调函数** 绑定到此窗口。
显示图像窗口。此窗口打开我们在其上绘制圆形的图像。要关闭窗口,请按 **esc** 键。
让我们看一些程序示例,以了解它是如何工作的。
示例
在此 Python 程序中,我们在按下鼠标左键时绘制圆形。
# Import required libraries
import cv2
import numpy as np

# define an image (black) on which the circle to be drawn
img = np.zeros((512,700,3), np.uint8)

# define mouse callback function to draw circle
def draw_circle(event, x, y, flags, param):
      if event == cv2.EVENT_LBUTTONDOWN:
         cv2.circle(img, (x, y), 100, (0, 255, 255), 2)

# Create a window
cv2.namedWindow("Circle Window")

# bind the callback function to the window
cv2.setMouseCallback("Circle Window", draw_circle)

# display the image
while True:
   cv2.imshow("Circle Window", img)
   if cv2.waitKey(20) & 0xFF == 27:
      break
cv2.destroyAllWindows()
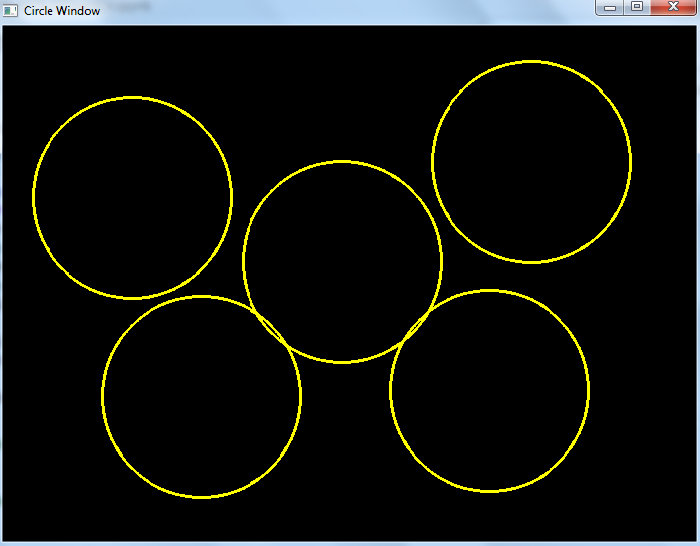
执行上述 Python 代码后,它将打开一个名为“圆形窗口”的窗口,显示一个黑色图像。在窗口上左键单击,将绘制一个半径为 100 像素的圆形。请参阅以下输出窗口,我们绘制了五个圆形。
输出

示例
在此 Python 程序中,我们使用拖动鼠标绘制圆形。圆形以不同的半径绘制。
import numpy as np
import cv2
import math
drawing = False # true if mouse is pressed
ix, iy = -1, -1

# define mouse callback function to draw circle
def draw_circle(event, x, y, flags, param):
   global ix, iy, drawing
   if event == cv2.EVENT_LBUTTONDOWN:
      drawing = True

      # we take note of where that mouse was located
      ix, iy = x, y
   elif event == cv2.EVENT_MOUSEMOVE:
      drawing == True
   elif event == cv2.EVENT_LBUTTONUP:
      radius = int(math.sqrt(((ix - x) ** 2) + ((iy - y) ** 2)))
      cv2.circle(img, (ix, iy), radius, (255, 0, 255), thickness=2)
      drawing = False

# Create a black image
img = np.zeros((512, 700, 3), np.uint8)

# Create a window
cv2.namedWindow('Drag Circle Window')

# bind the callback function to above defined window
cv2.setMouseCallback('Drag Circle Window', draw_circle)

# display the image
while True:
   cv2.imshow('Drag Circle Window', img)
   k = cv2.waitKey(1) & 0xFF
   if k == 27:
      break
cv2.destroyAllWindows()
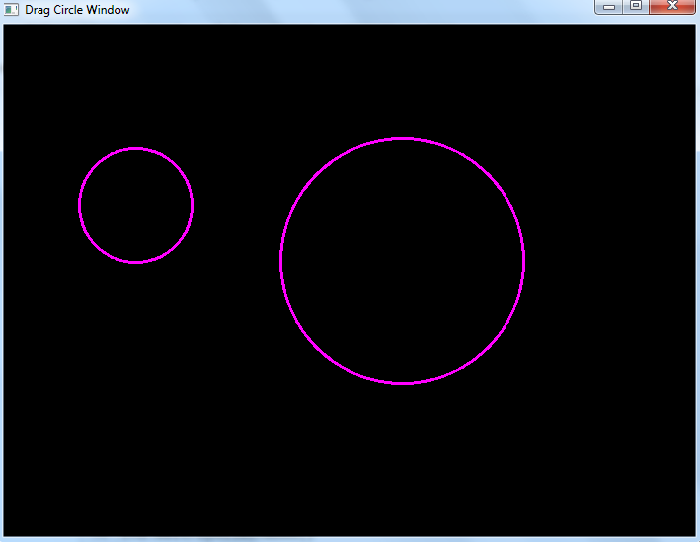
执行上述 Python 代码后,它将打开一个窗口,显示一个黑色图像。我们可以通过拖动鼠标在其上绘制圆形。绘制圆形的过程是首先按下鼠标左键 **(EVENT_LBUTTONDOWN)** 并移动鼠标 **(EVENT_MOUSEMOVE)**,然后释放按钮 **(EVENT_LBUTTONUP)**。
输出

示例
在此 Python 程序中,我们使用鼠标在输入图像上双击绘制填充圆形。
import numpy as np
import cv2

# mouse callback function
def draw_circle(event,x,y,flags,param):
   if event == cv2.EVENT_LBUTTONDBLCLK:
   cv2.circle(img,(x,y),100,(255,0,0),-1)

# read the input image
img = cv2.imread('3D.jpg')

# Create a window
cv2.namedWindow('Filled Circle Window')

# bind the callback function to window
cv2.setMouseCallback('Filled Circle Window', draw_circle)

# display the image
while True:
   cv2.imshow('Filled Circle Window', img)
   if cv2.waitKey(1) & 0xFF == 27:
      break
cv2.destroyAllWindows()
执行上述 Python 代码后,它将打开一个窗口,显示输入图像。要在图像中绘制填充圆形,请在图像中的某个点双击 (EVENT_LBUTTONDBLCLK)。
输出


 数据结构
数据结构 网络
网络 关系型数据库管理系统
 操作系统
操作系统 Java
Java iOS
iOS HTML
HTML CSS
CSS Android
 Python
 C 语言编程
 C++
C++ C#
C# MongoDB
 MySQL
MySQL Javascript
 PHP
PHP