使用Tkinter构建按钮回调函数
创建图形用户界面 (GUI) 是许多软件应用程序的基本方面,而Tkinter作为在Python中构建GUI的强大工具包而脱颖而出。Tkinter提供了一系列小部件,其中最常用的一种元素是按钮。在本文中,我们将深入探讨使用Tkinter构建按钮回调函数的细节,探索基础知识、传递参数以及构建响应式界面。
Tkinter按钮
Tkinter的Button小部件是许多GUI应用程序中用户交互的基石。按钮本质上是一个可点击区域,激活时会执行预定义的操作。要将函数与按钮关联,我们使用command属性。
示例
让我们从一个简单的例子开始:
import tkinter as tk

def on_button_click():
   print("Button clicked!")

# Creating the main application window
root = tk.Tk()
root.title("Button Callback Example")
root.geometry("720x250")

# Creating a button and associating the on_button_click function with its command
button = tk.Button(root, text="Click Me", command=on_button_click)
button.pack(pady=10)

# Running the Tkinter event loop
root.mainloop()
在这个基本的例子中,当单击按钮时,将执行on_button_click函数。command=on_button_click链接是建立按钮和函数之间连接的关键。
输出
运行代码后,您将获得以下输出窗口:

向回调函数传递参数
按钮通常需要执行需要额外信息或上下文的动作。Tkinter允许我们使用lambda函数向回调函数传递参数。考虑以下示例:
示例
import tkinter as tk

def on_button_click(message):
   print(f"Button clicked! Message: {message}")

root = tk.Tk()
root.title("Button Callback with Argument Example")
root.geometry("720x250")
message_to_pass = "Hello from the button!"

# Using a lambda function to pass arguments to the callback
button = tk.Button(root, text="Click Me", command=lambda: on_button_click(message_to_pass))
button.pack(pady=10)

root.mainloop()
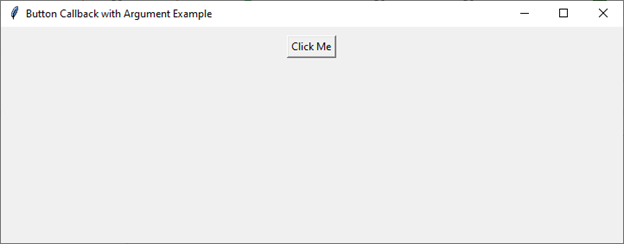
在这里,lambda函数充当中间体,能够将message_to_pass参数传递给on_button_click函数。当您需要动态数据由回调函数处理时,此技术非常宝贵。
输出
运行代码后,您将获得以下输出窗口:

动态UI更新
创建响应式UI涉及根据用户交互更新界面元素。按钮回调函数在实现动态更新方面发挥着至关重要的作用。
示例
让我们探讨一个单击按钮会更改标签文本的示例:
import tkinter as tk

def update_label_text():
   new_text = "Button clicked!"
   label.config(text=new_text)

root = tk.Tk()
root.title("Updating Label Text on Button Click")
root.geometry("720x250")

# Creating a label with initial text
label = tk.Label(root, text="Click the button to update me!")
label.pack(pady=10)

# Creating a button to trigger the update
button = tk.Button(root, text="Click Me", command=update_label_text)
button.pack(pady=10)

root.mainloop()
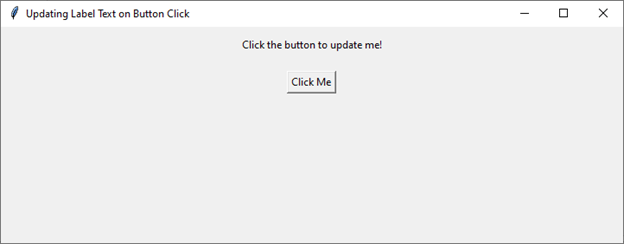
在这个例子中,当单击按钮时,update_label_text函数会修改标签的文本。这种模式允许开发人员创建交互式和响应式界面,从而增强整体用户体验。
输出
运行代码后,您将获得以下输出窗口:

处理用户输入
按钮可以与输入小部件无缝集成,以方便用户输入。考虑一个简单的计算器应用程序,其中单击数字按钮会更新输入小部件:
示例
import tkinter as tk

def update_entry_text(number):
   current_text = entry.get()
   new_text = current_text + str(number)
   entry.delete(0, tk.END)
   entry.insert(0, new_text)

root = tk.Tk()
root.title("Simple Calculator")
root.geometry("720x250")

# Creating an entry widget for displaying input
entry = tk.Entry(root, width=20)
entry.pack(pady=10)

# Creating number buttons and associating them with update_entry_text callback
for i in range(1, 10):
   button = tk.Button(root, text=str(i), command=lambda i=i: update_entry_text(i))
   button.pack(side=tk.LEFT, padx=5)

root.mainloop()
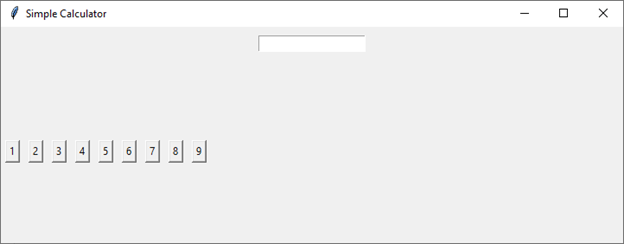
在这个例子中,每个数字按钮都与update_entry_text回调函数关联,该函数将单击的数字连接到当前的输入文本。这演示了按钮回调函数在处理GUI中用户输入时的多功能性。
输出
运行代码后,您将获得以下输出窗口:

回调函数中的错误处理
健壮的GUI应用程序必须包含错误处理,以确保无缝的用户体验。在使用按钮回调函数时,务必预测并优雅地处理潜在的错误。使用try-except块是一种有效的策略:
示例
import tkinter as tk
from tkinter import messagebox

def on_button_click():
   try:
      print("Button clicked!")
   except Exception as e:
      messagebox.showerror("Error", f"An error occurred: {str(e)}")

root = tk.Tk()
root.title("Error Handling in Callbacks")
root.geometry("720x250")

button = tk.Button(root, text="Click Me", command=on_button_click)
button.pack(pady=10)

root.mainloop()
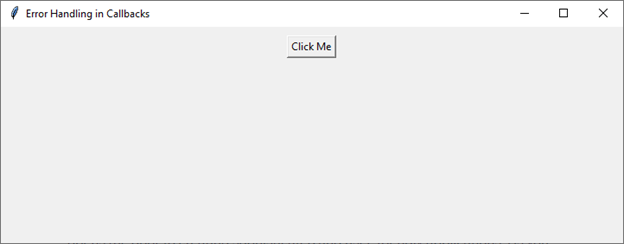
在这个例子中,try-except块捕获回调函数中可能发生的任何异常。如果检测到错误,则会显示一个消息框,以告知用户该问题。此做法确保意外错误不会导致应用程序无响应或崩溃。
输出
运行代码后,您将获得以下输出窗口:

结论
使用Tkinter构建按钮回调函数是任何参与使用Python进行GUI开发的人员的一项基本技能。从将函数链接到按钮的基础知识到处理用户输入,掌握按钮回调函数对于创建用户友好的应用程序非常有帮助。


 数据结构
数据结构 网络
网络 关系数据库管理系统 (RDBMS)
 操作系统
操作系统 Java
Java iOS
iOS HTML
HTML CSS
CSS Android
 Python
 C语言编程
C语言编程 C++
C++ C#
C# MongoDB
 MySQL
MySQL Javascript
 PHP
PHP