
 数据结构
数据结构 网络
网络 RDBMS
RDBMS 操作系统
操作系统 Java
Java iOS
iOS HTML
HTML CSS
CSS Android
 Python
 C 编程
C 编程 C++
C++ C#
C# MongoDB
 MySQL
MySQL Javascript
 PHP
PHP使用 OpenCV 读取图像并在 Tkinter 中显示
OpenCV 是一个开源的 Python 计算机视觉库,广泛用于人工智能和机器学习的研究。像 OpenCV 这样的计算机视觉库处理图像处理。我们可以使用 OpenCV 读取图像,并进一步用于开发。
假设我们想要创建一个应用程序,该应用程序使用 OpenCV 读取图像并在窗口中显示它。
使用以下命令安装 OpenCV:
pip install opencv-python
接下来,按照以下步骤操作:
在环境中安装 OpenCV,并使用 **import cv2** 导入库。
导入 **NumPy** 和 **PIL**(Pillow 包)用于图像计算。
使用 **imread(image_location)** 函数加载图像。
使用 **split(image)** 函数拆分图像的 RGB 颜色。
使用 **merge(rgb)** 函数合并图像颜色。
将多维矩阵转换为图像。
使用 **PhotoImage(image= file)** 函数转换给定的图像。
初始化一个标签并显示图像。
示例
#Import the tkinter library
from tkinter import *
import numpy as np
import cv2
from PIL import Image, ImageTk

#Create an instance of tkinter frame
win = Tk()
win.geometry("700x550")
#Load the image
img = cv2.imread('tutorialspoint.png')

#Rearrange colors
blue,green,red = cv2.split(img)
img = cv2.merge((red,green,blue))
im = Image.fromarray(img)
imgtk = ImageTk.PhotoImage(image=im)

#Create a Label to display the image
Label(win, image= imgtk).pack()
win.mainloop()
输出
运行以上代码将在窗口中加载并显示图像。
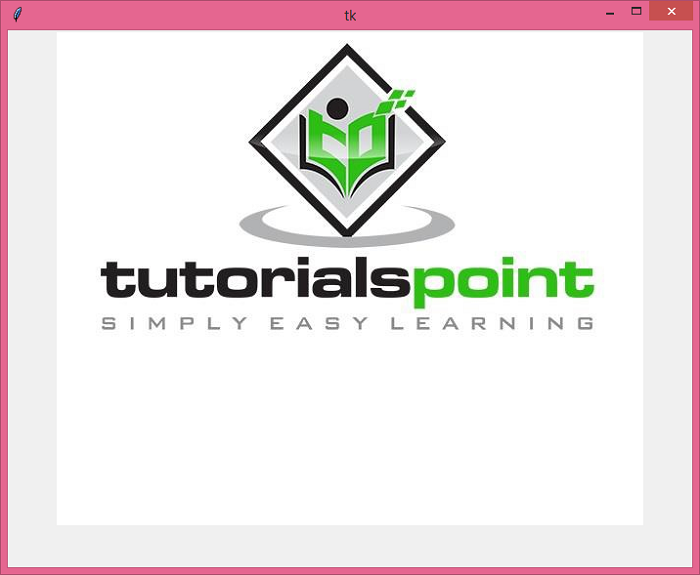
确保图像“**tutorialspoint.png**”与程序位于同一文件夹中。

更新于: 2021年5月25日
6K+ 浏览量

广告