在 Matplotlib 绘图中向前和向后滚动
要在 Matplotlib 绘图中向后和向前(左右键)滚动,我们可以执行以下步骤 −
- 设置图形大小和调整子图之间和周围的填充。
- 使用 Numpy 创建 curr_pos 和 y。
- 使用 figure() 方法创建一个新图形或激活一个现有图形。
- 将函数绑定到该事件,即 key_press_event。
- 作为子图排列的一部分,将 '~.axes.Axes' 添加到该图形。
- 使用 plot() 方法绘制 curr_pos 和 y 数据点。
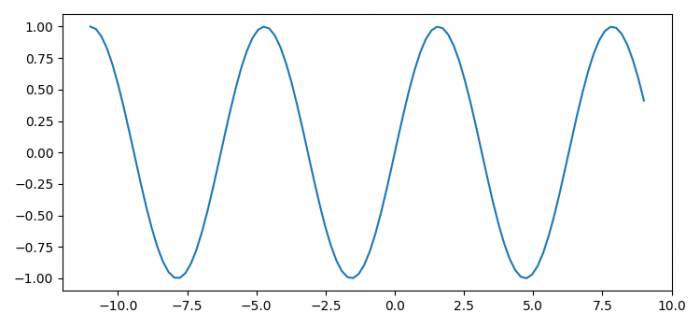
- 如果可以使用左右箭头键,则曲线可以相应地向右和向左移动。
- 要显示图形,请使用 show() 方法。
示例
import numpy as np
import matplotlib.pyplot as plt

plt.rcParams["figure.figsize"] = [7.50, 3.50]
plt.rcParams["figure.autolayout"] = True

curr_pos = np.linspace(-10, 10, 100)
y = np.sin(curr_pos)

def key_event(e):
   global curr_pos
   if e.key == "right":
      curr_pos = curr_pos + 1
   else:
      curr_pos = curr_pos - 1
   ax.cla()
   ax.plot(curr_pos, np.sin(curr_pos))
   fig.canvas.draw()
fig = plt.figure()
fig.canvas.mpl_connect('key_press_event', key_event)

ax = fig.add_subplot(111)
ax.plot(curr_pos, y)

plt.show()
输出

现在,按键盘上的左右箭头键即可在绘图中向前或向后滚动。

广告

 数据结构
数据结构 网络
网络 RDBMS
RDBMS 操作系统
操作系统 Java
Java iOS
iOS HTML
HTML CSS
CSS Android
 Python
 C 编程
C 编程 C++
C++ C#
C# MongoDB
 MySQL
MySQL Javascript
 PHP
PHP