
 数据结构
数据结构 网络
网络 RDBMS
RDBMS 操作系统
操作系统 Java
Java iOS
iOS HTML
HTML CSS
CSS Android
 Python
 C 编程
C 编程 C++
C++ C#
C# MongoDB
 MySQL
MySQL Javascript
 PHP
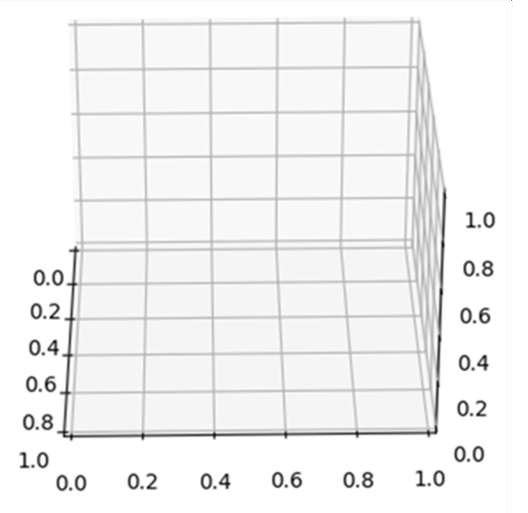
PHP在 IPython 或 Jupyter Notebook 中显示可旋转 3D 绘图
通过在轴上创建 3D 投影并使用 view_init() 迭代该轴以获取不同角度,我们可以旋转输出图表。
步骤
创建新图形或激活现有图形。
将 `~.axes.Axes` 添加到图形,作为 nrow = 1、ncols = 1、index = 1 和 projection = '3d' 子图排列的一部分。
使用方法 get_test_data 返回带有测试数据集的元组 X、Y 和 Z。
使用数据测试数据 x、y 和 z 绘制 3D 线框。
为了使其可旋转,我们可以使用 view_init() 方法以度(而不是弧度)设置轴的高度和方位。
若要显示图形,请使用 plt.show() 方法。
示例
from mpl_toolkits.mplot3d import axes3d
import matplotlib.pyplot as plt

fig = plt.figure()
ax = fig.add_subplot(111, projection='3d')

X, Y, Z = axes3d.get_test_data(0.1)
ax.plot_wireframe(X, Y, Z, rstride=5, cstride=5)

# rotate the axes and update
for angle in range(0, 360):
   ax.view_init(30, angle)

plt.show()
输出

更新于:2021 年 03 月 17 日
3K+ 次浏览

广告