- Protocol Buffers 教程
- Protocol Buffers - 首页
- Protocol Buffers - 简介
- Protocol Buffers - 基本应用
- Protocol Buffers - 结构
- Protocol Buffers - 消息
- Protocol Buffers - 字符串
- Protocol Buffers - 数字
- Protocol Buffers - 布尔值
- Protocol Buffers - 枚举
- Protocol Buffers - 重复字段
- Protocol Buffers - 映射
- Protocol Buffers - 嵌套类
- Protocol Buffers - 可选字段和默认值
- Protocol Buffers - 语言无关性
- Protocol Buffers - 复合数据类型
- Protocol Buffers - 命令行使用
- Protocol Buffers - 更新定义规则
- Protocol Buffers - 与 Kafka 集成
- Protocol Buffers - 在其他语言中的使用
- Protocol Buffers 有用资源
- Protocol Buffers - 快速指南
- Protocol Buffers - 有用资源
- Protocol Buffers - 讨论
Protocol Buffers - 基本应用
概述
现在让我们使用 Google Protocol Buffer,看看它如何与简单的问候应用一起工作。在这个例子中,我们将创建一个简单的应用程序,它将执行以下操作:
问候编写者:
从用户处获取问候语和用户名
将上述信息存储到磁盘上的文件中
问候读取者:
读取我们在上面存储的同一文件
将数据转换为对象并打印数据
Protocol Buffer 定义文件
Protocol Buffer 的“定义文件”包含我们想要序列化的数据的模式定义。数据存储在一个人类可读的文件中,扩展名为 **".proto"**。
让我们将以下数据存储在 **greeting.proto** 中,我们将在我们的第一个应用程序中使用它。
syntax = "proto3";
package tutorialspoint;
option java_package = "com.tutorialspoint.greeting";

message Greet {
   string greeting = 1;
   string username = 2;
}
理解每个结构
现在,让我们仔细看看数据,并了解上面代码块中每一行代码的作用。
syntax = "proto3";
这里的 **syntax** 表示我们正在使用哪个版本的 Protobuf。因此,我们使用的是最新版本 3,因此模式可以使用所有对版本 3 有效的语法。
package tutorialspoint;
这里的 **package** 用于冲突解决,例如,如果我们有多个同名的类/成员。
option java_package = "com.tutorialspoint.greeting";
此参数特定于 Java,即从 **.proto** 文件自动生成的代码所在的包。
message Greet
将要创建/重新创建的对象的基类的名称。
string greeting = 1;
string username = 2;
这些是 **Greet** 类的属性,以及数据类型和模式中标签的位置。如果要添加新的标签,其位置应为“3”。请注意,此位置整数对于确保实际数据紧凑且存在模式演变的空间非常重要。
Protocol Buffer 代码生成
现在我们已经定义了,让我们安装我们将用于为上述 **Greet** 类自动生成代码的“proto”二进制文件。可以在 "https://github.com/protocolbuffers/protobuf/releases/" 找到这些二进制文件。
根据操作系统选择正确的二进制文件。我们将在 Windows 上安装 proto 二进制文件,但 Linux 的步骤差别不大。
我们下载了 https://github.com/protocolbuffers/protobuf/releases/download/v27.3/protoc-27.3-win64.zip
验证 Proto 编译器设置
安装后,确保您可以通过命令行访问它:
protoc --version

libprotoc 27.3
这确认 Protobuf 已正确安装。现在让我们继续为 Java 创建上面描述的问候应用程序。
项目结构
这是我们将拥有的整体项目结构:
Java 中的问候应用程序
现在我们已经安装了 **protoc**,我们可以使用 **protoc** 从 proto 文件自动生成代码。让我们先创建一个 Java 项目。
以下是我们将用于 Java 项目的 Maven 配置。请注意,它还包含 **Protobuf-java** 的必需库。
pom.xml
<?xml version="1.0" encoding="UTF-8"?>
<project xmlns="http://maven.apache.org/POM/4.0.0"
   xmlns:xsi="http://www.w3.org/2001/XMLSchema-instance"
   xsi:schemaLocation="http://maven.apache.org/POM/4.0.0 http://maven.apache.org/xsd/maven-4.0.0.xsd">

   <modelVersion>4.0.0</modelVersion>
   <groupId>com.tutorials.point</groupId>
   <artifactId>protobuf-tutorial</artifactId>
   <version>1.0</version>
   <packaging>jar</packaging>

   <properties>
      <maven.compiler.source>21</maven.compiler.source>
      <maven.compiler.target>21</maven.compiler.target>
   </properties>

   <dependencies>
      <!-- https://mvnrepository.com/artifact/com.google.protobuf/protobuf-java -->
      <dependency>
         <groupId>com.google.protobuf</groupId>
         <artifactId>protobuf-java</artifactId>
         <version>4.27.3</version>
      </dependency>
   </dependencies>

   <build>
      <plugins>
         <plugin>
            <groupId>org.apache.maven.plugins</groupId>
            <artifactId>maven-shade-plugin</artifactId>
            <version>3.2.4</version>
            <configuration>
               <!--Put your configurations here-->
            </configuration>
            <executions>
               <execution>
                  <phase>package</phase>
                     <goals>
                     <goal>shade</goal>
                  </goals>
               </execution>
            </executions>
         </plugin>
      </plugins>
   </build>
</project>
我们所有的代码都将位于 **src/main/java** 下。
在项目结构完成后,让我们生成 **Greet** 类的代码:
生成 Java 类
protoc --java_out=. greeting.proto
命令执行后,您会在当前目录内的 **com > tutorialspoint > greeting** 文件夹下看到一个自动生成的类。
Greeting.java
此文件包含一个类 **Greeting** 和一个接口 **GreetOrBuilder**,它将帮助我们对 **Greet** 对象进行序列化和反序列化。
使用生成的 Java 类
现在,让我们 **编写** 数据的写入器,它将接收 **用户名** 和 **问候语** 作为输入:
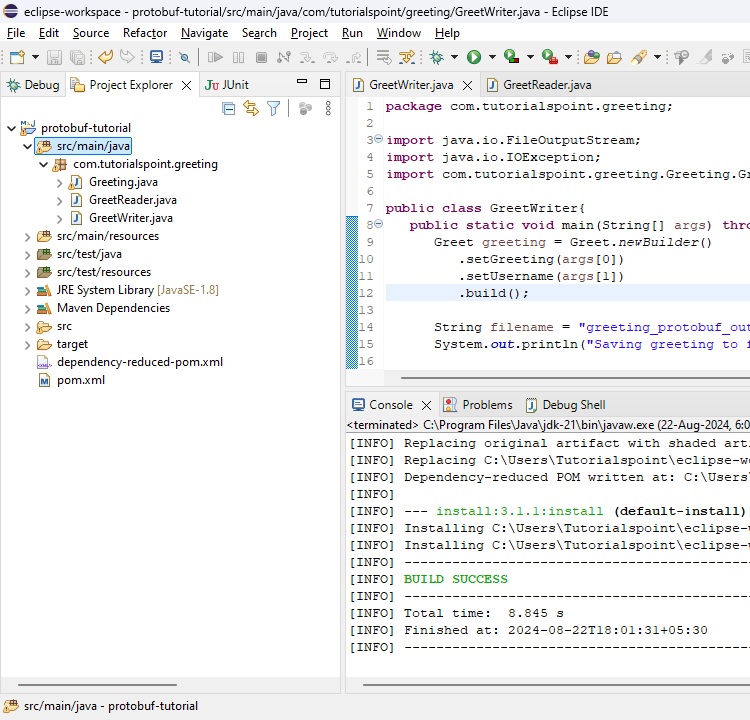
GreetWriter.java
package com.tutorialspoint.greeting;

import java.io.FileNotFoundException;
import java.io.FileOutputStream;
import java.io.IOException;

import com.google.flatbuffers.FlatBufferBuilder;

public class GreetWriter {
	public static void main(String[] args) throws FileNotFoundException, IOException {
		// create a flat buffer builder
		// it will be used to create Greet FlatBuffer
		FlatBufferBuilder builder = new FlatBufferBuilder(1024);

		// read greeting and username from console
		int greeting = builder.createString(args[0]);
		int username = builder.createString(args[1]);

		// create Greet FlatBuffers using startGreet() method
		Greet.startGreet(builder);
		// add the greeting and username to the Greet FlatBuffer
		Greet.addGreeting(builder, greeting);
		Greet.addUsername(builder, username);

		// mark, data being entered in Greet FlatBuffer
		int greet = Greet.endGreet(builder);

		// finish the builder
		builder.finish(greet);

		// get the bytes to be stored
		byte[] data = builder.sizedByteArray();

	      String filename = "greeting_flatbuffers_output";
	      System.out.println("Saving greeting to file: " + filename);
		// write the builder content to the file named	greeting_flatbuffers_output
	      try(FileOutputStream output = new FileOutputStream(filename)){
	    	  output.write(data);
	      }
	      System.out.println("Saved greeting with following data to disk: \n" + greeting);
	}
}
写入器只需获取 CLI 参数,创建 **Greet** 对象,将其序列化,然后将其转储到文件中。
现在让我们编写一个将读取文件的 **读取器**:
GreetReader.java
package com.tutorialspoint.greeting;

import java.io.FileInputStream;
import java.io.FileNotFoundException;
import java.io.IOException;

import com.google.flatbuffers.FlatBufferBuilder;

public class GreetReader {
	public static void main(String[] args) throws FileNotFoundException, IOException {
		// create a flat buffer builder
		// it will be used to read Greet FlatBuffer
		FlatBufferBuilder builder = new FlatBufferBuilder(1024);
		 String filename = "greeting_flatbuffers_output";
	      System.out.println("Reading from file " + filename);

	      try(FileInputStream input = new FileInputStream(filename)) {
	    	  // get the serialized data
	         byte[] data = input.readAllBytes();
	         java.nio.ByteBuffer buf = java.nio.ByteBuffer.wrap(data);
	         // read the root object in serialized data
	         Greet greet = Greet.getRootAsGreet(buf);

	         // print greet values
	         System.out.println("Greeting: " + greet.greeting() + "\n" + "Username: " + greet.username());
	      }
	}
}
读取器只需从同一文件读取,对其进行反序列化,然后打印有关问候语的数据。
编译项目
现在我们已经设置了读取器和写入器,让我们编译项目。
mvn clean install
序列化 Java 对象
现在,让我们首先执行写入器以将对象序列化到文件系统。
java -cp .\target\protobuf-tutorial-1.0.jar com.tutorialspoint.greeting.GreetWriter Hello John

Saving greeting to file:
greeting_protobuf_output

Saved greeting with following data to disk:
greeting: Hello
username: John
反序列化序列化的对象
然后,让我们执行读取器以从文件系统反序列化对象。
java -cp .\target\protobuf-tutorial-1.0.jar com.tutorialspoint.greeting.GreetReader

Reading from file greeting_protobuf_output
Greeting: Hello
Username: John
因此,正如我们所看到的,写入器序列化并保存到文件中的数据,被读取器正确地反序列化并相应地打印出来。
Python 中的问候应用程序
现在让我们将同一个示例编写为 Python 项目:
安装 Protocol Buffers 库
在我们继续之前,我们需要安装 **protobuf pip 包**。
pip install protobuf
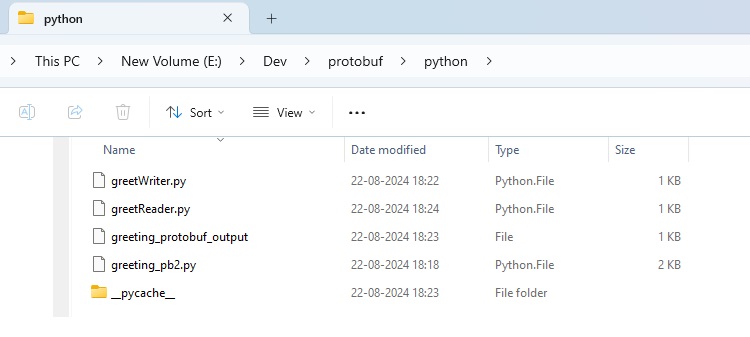
我们所有的代码都将位于 **python** 目录下。
从 proto 文件生成 Python 类
在项目结构完成后,让我们生成 Greet 类的代码:
protoc --python_out=. greeting.proto
执行此命令后,您会在当前目录中看到一个自动生成的类 **greeting_pb2.py**。此类将帮助我们对 **Greet** 对象进行序列化和反序列化。
使用生成的 Python 类
现在,让我们 **编写** 数据的写入器,它将接收 **用户名** 和 **问候语** 作为输入:
greetWriter.py
import greeting_pb2

import sys

greet = greeting_pb2.Greet()
greet.username = sys.argv[1]
greet.greeting = sys.argv[2]

filename = "greeting_protobuf_output";
print("Saving to file: " + filename)

f = open(filename, "wb")
f.write(greet.SerializeToString())
f.close()
print("Saved following greeting to disk: \n" + str(greet))
写入器只需获取 CLI 参数,创建 **Greet** 对象,将其序列化,然后将其转储到文件中。
现在让我们创建一个将读取文件的 **读取器**:
greetReader.py
import greeting_pb2

greet = greeting_pb2.Greet()

filename = "greeting_protobuf_output";
print("Reading from file: " + filename)

f = open(filename, "rb")
greet.ParseFromString(f.read())
f.close()

print("Read greeting from disk: \n" + str(greet))
读取器只需从同一文件读取,对其进行反序列化,然后打印有关问候语的数据。
序列化 Python 对象
现在,让我们首先执行 **写入器**。
py greetWriter.py Hola Jane

Saving to file: greeting_protobuf_output
Saved following greeting to disk:
greeting: "Hola"
username: "Jane"
反序列化 Python 对象
然后,让我们执行 **读取器**。
python greetReader.py

Reading from file: greeting_protobuf_output
Read greeting from disk:
greeting: "Hola"
username: "Jane"
因此,正如我们所看到的,写入器序列化并保存到文件中的数据,同样,这些数据被读取器正确地反序列化并相应地打印出来。