
 数据结构
数据结构 网络
网络 关系数据库管理系统
 操作系统
操作系统 Java
Java iOS
iOS HTML
HTML CSS
CSS Android
 Python
 C 编程
C 编程 C++
C++ C#
C# MongoDB
 MySQL
MySQL Javascript
 PHP
PHP如何在 Android 中实现文档扫描功能?
简介
在许多 Android 应用中,我们可以看到其中存在文档扫描功能,该功能允许应用拍摄文档照片,并根据需要从四边裁剪文档图像,然后以图像形式显示该文档。我们还可以向该图像添加过滤器,例如黑白和其他过滤器。在本文中,我们将探讨如何在 Android 中实现文档扫描功能?
实现
我们将创建一个简单的应用,其中将显示一个 TextView 用于显示应用标题。之后,我们将创建一个 ImageView 用于显示扫描后裁剪的图像。应用启动时将显示一个文档扫描仪。此扫描仪将扫描文档,能够裁剪它并显示文档的裁剪图像到我们的 ImageView 中。现在让我们转到 Android Studio 创建一个新的项目。
步骤 1:在 Android Studio 中创建一个新项目
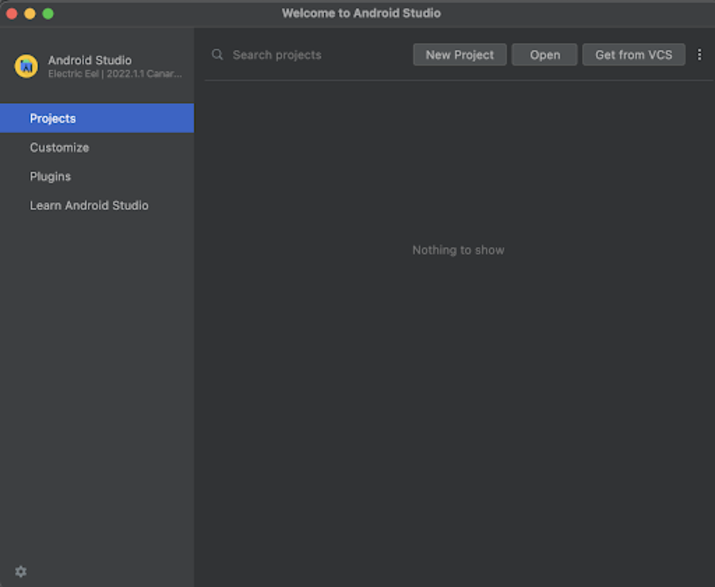
导航到 Android Studio,如下面的屏幕截图所示。在下面的屏幕截图中,点击“新建项目”以创建一个新的 Android Studio 项目。
点击“新建项目”后,您将看到下面的屏幕。
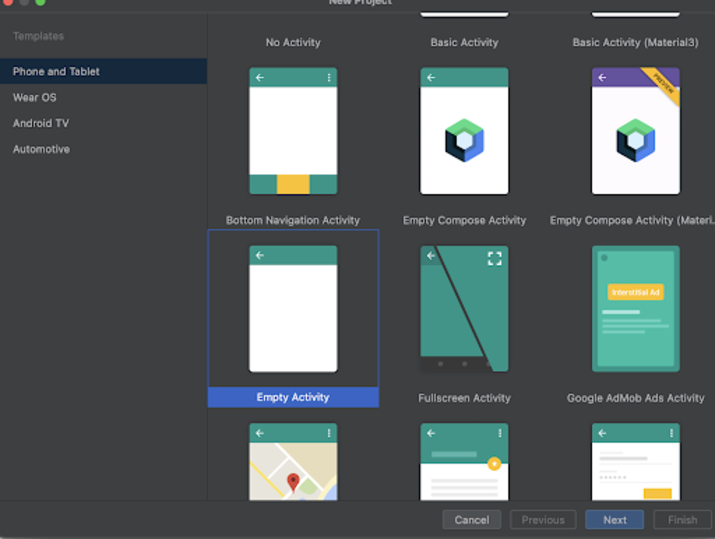
在此屏幕中,我们只需选择“空活动”并点击“下一步”。点击“下一步”后,您将看到下面的屏幕。

在此屏幕中,我们只需指定项目名称。然后包名将自动生成。
注意 - 确保选择 Kotlin 作为语言。
指定所有详细信息后,点击“完成”以创建一个新的 Android Studio 项目。
项目创建完成后,我们将看到两个打开的文件,即 activity_main.xml 和 MainActivity.kt 文件。
步骤 2:在 build.gradle 文件中添加文档扫描仪依赖项。
导航到 app>build.gradle 文件(项目级)并在 dependencies 部分添加以下依赖项。
implementation 'com.websitebeaver:documentscanner:1.0.0'
添加上述依赖项后,只需点击“同步现在”选项即可安装它。
步骤 3:使用 activity_main.xml
导航到 activity_main.xml。如果此文件不可见,要打开此文件,在左侧窗格中导航到 app>res>layout>activity_main.xml 以打开此文件。打开此文件后,向其中添加以下代码。代码中添加了注释以便详细了解。
<?xml version="1.0" encoding="utf-8"?>
<RelativeLayout xmlns:android="http://schemas.android.com/apk/res/android"
   xmlns:tools="http://schemas.android.com/tools"
   android:layout_width="match_parent"
   android:layout_height="match_parent"
   tools:context=".MainActivity">
   <!-- creating a text view for displaying the heading of the application -->
   <TextView
       android:layout_width="match_parent"
       android:layout_height="wrap_content"
       android:layout_above="@id/idIVImage"
       android:layout_centerHorizontal="true"
       android:layout_margin="10dp"
       android:padding="4dp"
       android:text="Document Scanner Application"
       android:textAlignment="center"
       android:textColor="@color/black"
       android:textSize="20sp"
       android:textStyle="bold" />
   <!-- creating an image view for displaying the scanned document -->
   <ImageView
       android:id="@+id/idIVImage"
       android:layout_width="match_parent"
       android:layout_height="400dp"
       android:layout_centerInParent="true"
       android:layout_margin="10dp"
       android:padding="4dp" />
</RelativeLayout>
说明:在上面的代码中,我们创建了一个根布局作为 RelativeLayout。在此布局内,我们创建了一个 TextView 用于显示应用标题。之后,我们创建了一个 ImageView,我们将在其中显示文档的图像,一旦我们完成文档的扫描,我们将能够看到该图像。
步骤 4:使用 MainActivity.kt 文件
导航到 MainActivity.kt。如果此文件不可见,要打开此文件,在左侧窗格中导航到 app>res>layout>MainActivity.kt 以打开此文件。打开此文件后,向其中添加以下代码。代码中添加了注释以便详细了解。
package com.example.kotlintestapplication
import android.graphics.BitmapFactory
import androidx.appcompat.app.AppCompatActivity
import android.os.Bundle
import android.util.Log
import android.view.animation.AnimationUtils
import android.widget.ImageView
import android.widget.Toast
import com.websitebeaver.documentscanner.DocumentScanner
class MainActivity : AppCompatActivity() {
   // on below line creating a variable for image view.
   private lateinit var docImageView: ImageView
   // on below line creating a variable for document scanner and initializing it.
   private val documentScanner = DocumentScanner(
       this,
       // on below line calling a method to display the cropped image results.
       { croppedImageResults ->
           // on below line getting the cropped image and displaying that image in our image view.
           // on below line setting image bitmap for our image view.
           docImageView.setImageBitmap(
               // on below line calling decode file to decode the file from cropped image results and display it in image view.
               BitmapFactory.decodeFile(croppedImageResults.first())
           )
       },
       {
           // on below line displaying an error message.
               errorMessage ->
           // displaying a toast message for error.
           Toast.makeText(this,"Fail to get document : "+ errorMessage,Toast.LENGTH_SHORT).show()
       },
       {
           // below method is called when the user cancelled the document scan.
           Toast.makeText(this,"Document Scanning has been cancelled by the user. ",Toast.LENGTH_SHORT).show()
       }
   )
   // on below line calling the default on create method to initialize our variables.
   override fun onCreate(savedInstanceState: Bundle?) {
       super.onCreate(savedInstanceState)
       setContentView(R.layout.activity_main)
       // on below line initializing the variable for image view.
       docImageView = findViewById(R.id.idIVImage)
       // on below line calling start scan method to start the document scan.
       documentScanner.startScan()
   }
}
说明:在上面的代码中,首先我们为我们的 ImageView 创建变量。之后,我们为文档扫描仪创建一个变量并对其进行初始化。在此 Document Scanner 变量内部,我们调用了三种不同的方法。
当我们从文档扫描仪获得一些结果时,将调用第一种方法。在此方法中,我们将从文档扫描仪获得的结果设置到我们创建的 ImageView 中。
当我们从文档扫描仪获得一些错误时,将调用第二种方法。在此方法中,我们只是显示一个 Toast 消息以显示错误消息。
当用户取消文档扫描时,将调用第三种方法。在这种情况下,我们也显示 Toast 消息“用户已取消扫描”。
现在我们将看到 onCreate 方法。这是每个 Android 应用的默认方法。当应用视图创建时,将调用此方法。在此方法中,我们设置内容视图,即名为 activity_main.xml 的布局文件,以从该文件中设置 UI。在 onCreate 方法中,我们使用我们在 activity_main.xml 文件中提供的 id 初始化 ImageView 变量。之后,我们调用 startScan 方法以启动我们的文档扫描仪,以便我们可以扫描文档。
添加上述代码后,我们只需点击顶部的绿色图标即可在移动设备上运行我们的应用。
注意 - 确保您已连接到您的真实设备或模拟器。
输出

结论
在本文中,我们探讨了如何在 Android 应用中实现文档扫描功能。

1K+ 阅读量
