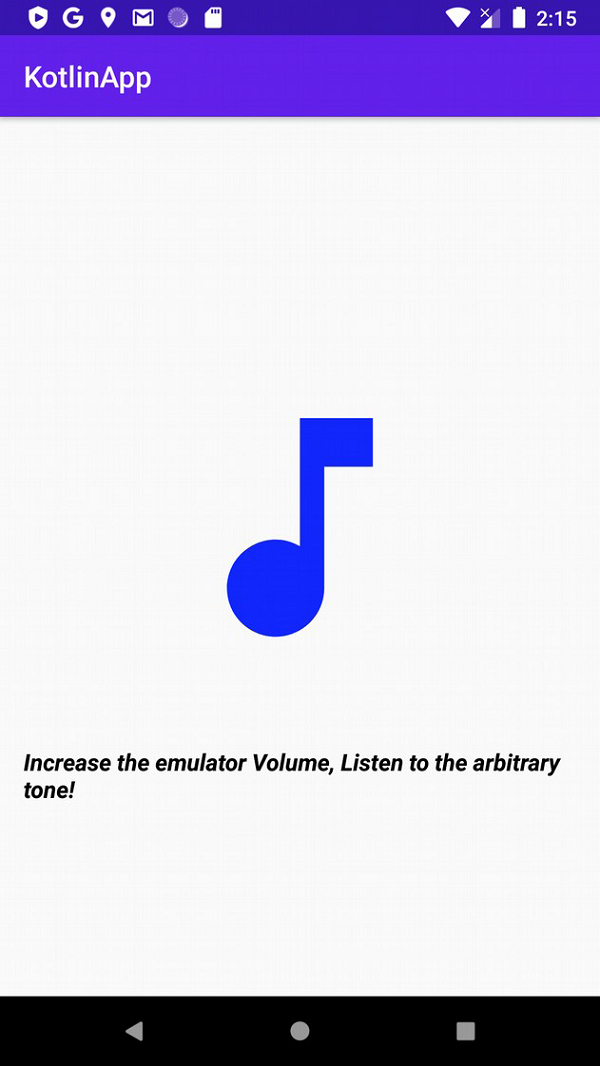
如何在 Android 中使用 Kotlin 播放任意音调?
本例演示如何在 Android 中使用 Kotlin 播放任意音调
步骤 1 − 在 Android Studio 中创建一个新项目,依次转到“文件 ⇒ 新建项目”,并填写所有必需详细信息以创建新项目。
步骤 2 − 将以下代码添加到 res/layout/activity_main.xml 中。
<?xml version="1.0" encoding="utf-8"?>
<LinearLayout xmlns:android="http://schemas.android.com/apk/res/android"
   xmlns:tools="http://schemas.android.com/tools"
   android:layout_width="match_parent"
   android:layout_height="match_parent"
   android:gravity="center"
   android:orientation="vertical"
   android:padding="16dp"
   tools:context=".MainActivity">
   <ImageView
      android:layout_width="200dp"
      android:layout_height="300dp"
      android:src="@drawable/ic_music" />
   <TextView
      android:layout_width="wrap_content"
      android:layout_height="wrap_content"
      android:text="Increase the emulator Volume, Listen to the arbitrary tone!"
      android:textColor="@android:color/background_dark"
      android:textSize="16sp"
      android:textStyle="bold|italic" />
</LinearLayout>
步骤 3 − 将以下代码添加到 src/MainActivity.kt 中
import android.media.AudioFormat
import android.media.AudioManager
import android.media.AudioTrack
import android.os.Bundle
import android.os.Handler
import androidx.appcompat.app.AppCompatActivity
import kotlin.experimental.and
import kotlin.math.sin
class MainActivity : AppCompatActivity() {
   private val duration = 10
   private val sampleRate = 8000
   private val numSamples = duration * sampleRate
   private val sample = DoubleArray(numSamples)
   private val generatedSnd = ByteArray(2 * numSamples)
   var handler: Handler = Handler()
   override fun onCreate(savedInstanceState: Bundle?) {
      super.onCreate(savedInstanceState)
      setContentView(R.layout.activity_main)
      title = "KotlinApp"
   }
   override fun onResume() {
      super.onResume()
      val thread = Thread(Runnable {
         genTone()
         handler.post { playSound() }
      })
      thread.start()
   }
   private fun genTone() {
      for (i in 0 until numSamples) {
         val freqOfTone = 440.0
         sample[i] =
         sin(2 * Math.PI * i / (sampleRate / freqOfTone))
      }
      var idx = 0
      for (dVal in sample) {
         val `val` = (dVal * 32767).toShort()
         generatedSnd[idx++] = `val`.and(0x00ff).toByte()
         generatedSnd[idx++] = `val`.and(0xff00 ushr 8).toByte()
      }
   }
   private fun playSound() {
      val audioTrack = AudioTrack(
         AudioManager.STREAM_MUSIC,
         sampleRate, AudioFormat.CHANNEL_OUT_MONO,
         AudioFormat.ENCODING_PCM_16BIT, generatedSnd.size,
         AudioTrack.MODE_STATIC
      )
      audioTrack.write(generatedSnd, 0, generatedSnd.size)
      audioTrack.play()
   }
}
步骤 4 − 将以下代码添加到 androidManifest.xml 中
<?xml version="1.0" encoding="utf-8"?>
<manifest xmlns:android="http://schemas.android.com/apk/res/android" package="app.com.q11">
   <application
      android:allowBackup="true"
      android:icon="@mipmap/ic_launcher"
      android:label="@string/app_name"
      android:roundIcon="@mipmap/ic_launcher_round"
      android:supportsRtl="true"
      android:theme="@style/AppTheme">
      <activity android:name=".MainActivity">
         <intent-filter>
            <action android:name="android.intent.action.MAIN" />
            <category android:name="android.intent.category.LAUNCHER" />
         </intent-filter>
      </activity>
   </application>
</manifest>
让我们尝试运行应用。我假设你已经将真正的 Android 移动设备连接到你的电脑上。要从 Android Studio 运行应用,请打开项目的一个活动文件,并单击工具栏上的运行图标![]() 。选择移动设备作为选项,然后查看移动设备,它将显示默认界面
。选择移动设备作为选项,然后查看移动设备,它将显示默认界面


广告

 数据结构
数据结构 网络通信
网络通信 关系型数据库管理系统
 操作系统
操作系统 Java
Java iOS
iOS HTML
HTML CSS
CSS Android
 Python
 C 编程
C 编程 C++
C++ C#
C# MongoDB
 MySQL
MySQL Javascript
 PHP
PHP