- iOS 教程
- iOS - 首页
- iOS - 入门
- iOS - 环境设置
- iOS - Objective-C 基础
- iOS - 第一个 iPhone 应用程序
- iOS - 动作和出口
- iOS - 代理
- iOS - UI 元素
- iOS - 加速度计
- iOS - 通用应用程序
- iOS - 相机管理
- iOS - 位置处理
- iOS - SQLite 数据库
- iOS - 发送电子邮件
- iOS - 音频和视频
- iOS - 文件处理
- iOS - 访问地图
- iOS - 应用内购买
- iOS - iAd 集成
- iOS - GameKit
- iOS - 故事板
- iOS - 自动布局
- iOS - Twitter 和 Facebook
- iOS - 内存管理
- iOS - 应用程序调试
- iOS 有用资源
- iOS - 快速指南
- iOS - 有用资源
- iOS - 讨论
iOS - 通用应用程序
通用应用程序是指为 iPhone 和 iPad 设计的,在一个二进制文件中运行的应用程序。通用应用程序允许代码重用并快速更新。
通用应用程序 – 涉及的步骤
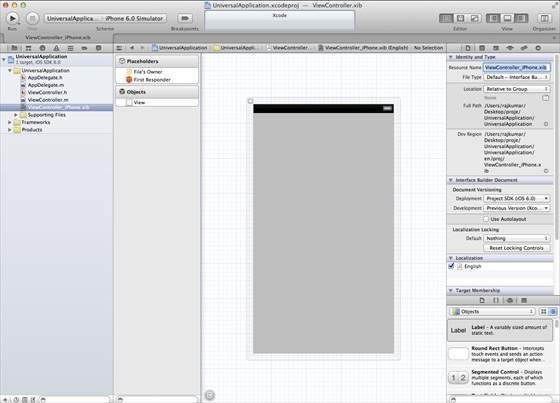
步骤 1 − 创建一个简单的基于视图的应用程序。
步骤 2 − 将文件名ViewController.xib文件更改为ViewController_iPhone.xib,如下所示,在右侧的文件检查器中。
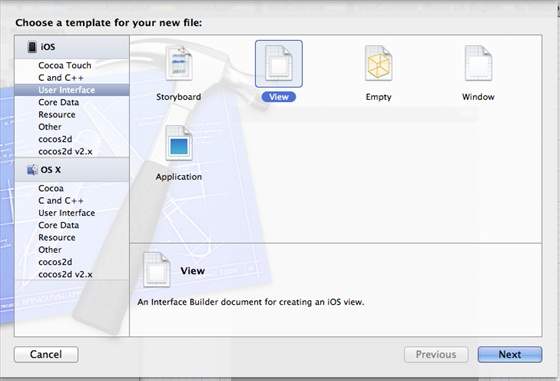
步骤 3 − 选择文件 → 新建 → 文件... 然后选择子部分“用户界面”并选择视图。单击下一步。
步骤 4 − 选择设备系列为iPad,然后单击下一步。
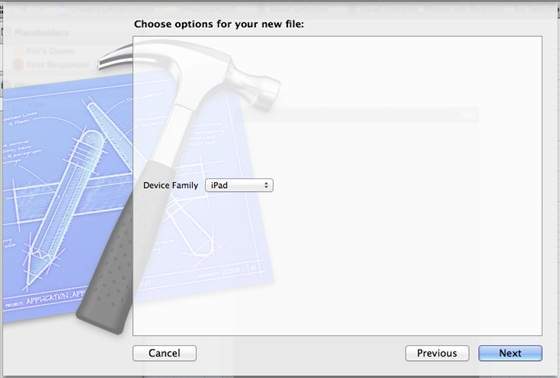
步骤 5 − 将文件保存为ViewController_iPad.xib并选择创建。
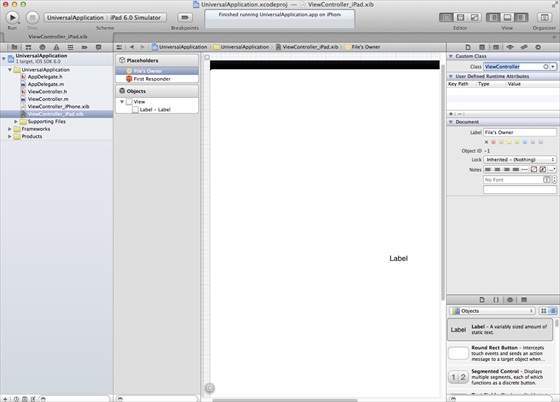
步骤 6 − 在ViewController_iPhone.xib和ViewController_iPad.xib中,在屏幕中央添加一个标签。
步骤 7 − 在ViewController_iPad.xib中,选择身份检查器并将自定义类设置为ViewController。
步骤 8 − 如下更新 AppDelegate.m 中的 application:DidFinishLaunching:withOptions 方法 −
- (BOOL)application:(UIApplication *)application
   didFinishLaunchingWithOptions:(NSDictionary *)launchOptions {
   self.window = [[UIWindow alloc] initWithFrame:[[UIScreen
   mainScreen] bounds]];

   // Override point for customization after application launch.
   if (UI_USER_INTERFACE_IDIOM() == UIUserInterfaceIdiomPhone) {
      self.viewController = [[ViewController alloc]
      initWithNibName:@"ViewController_iPhone" bundle:nil];
   } else {
      self.viewController = [[ViewController alloc] initWithNibName:
      @"ViewController_iPad" bundle:nil];
   }
   self.window.rootViewController = self.viewController;
   [self.window makeKeyAndVisible];
   return YES;
}
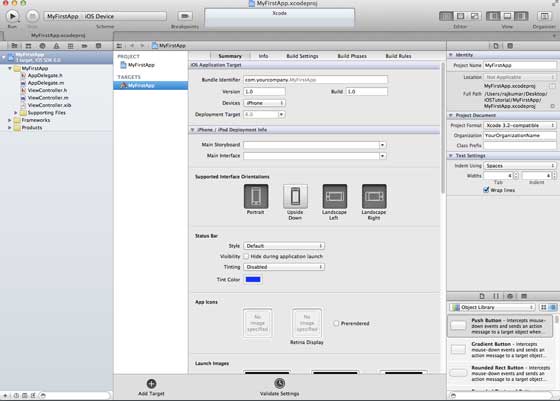
步骤 9 − 将项目摘要中的设备更新为通用,如下所示 −
输出
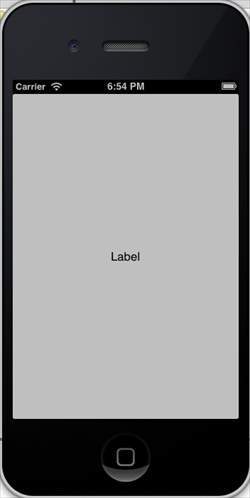
当我们运行应用程序时,我们将获得以下输出 −
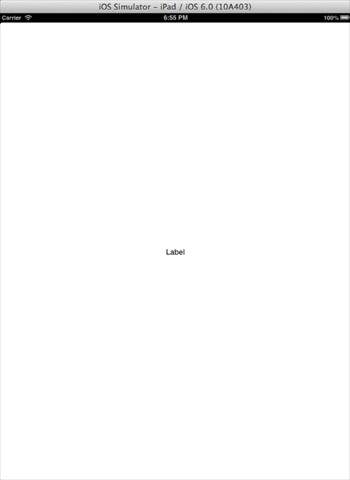
当我们在 iPad 模拟器中运行应用程序时,我们将获得以下输出 −
广告