- Struts 2 教程
- Struts2 - 首页
- Struts2 - 基本MVC架构
- Struts2 - 概述
- Struts2 - 环境搭建
- Struts2 - 架构
- Struts2 - 例子
- Struts2 - 配置
- Struts2 - Action
- Struts2 - 拦截器
- Struts2 - 结果类型
- Struts2 - 值栈/OGNL
- Struts2 - 文件上传
- Struts2 - 数据库访问
- Struts2 - 发送邮件
- Struts2 - 校验
- Struts2 - 国际化
- Struts2 - 类型转换
- Struts2 - 主题/模板
- Struts2 - 异常处理
- Struts2 - 注解
- Struts 2 标签
- Struts2 - 控制标签
- Struts2 - 数据标签
- Struts2 - 表单标签
- Struts2 - Ajax 标签
- Struts 2 集成
- Struts2 - Spring
- Struts2 - Tiles
- Struts2 - Hibernate
- Struts 2 有用资源
- Struts2 - 常见问题解答
- Struts2 - 快速指南
- Struts2 - 有用资源
- Struts2 - 讨论
Struts 2 - include 标签
Struts include 标签与jsp 的include标签非常相似,并且很少使用。我们已经了解了如何使用<s:action>标签将Struts action的输出包含到jsp中。<s:include>标签略有不同。它允许你将jsp、servlet或任何其他资源(非Struts action)的输出包含到jsp中。在幕后,它与<jsp:include>完全相同,但它允许你向包含的文件传递参数,并且它也是Struts框架的一部分。
以下示例演示如何将HelloWorld.jsp的输出包含到employee.jsp中。在这种情况下,HelloWorldAction.java中的action方法不会被调用,因为我们直接包含了jsp。
创建Action类
package com.tutorialspoint.struts2;

public class HelloWorldAction {
   private String name;

   public String execute() throws Exception {
      return "success";
   }

   public String getName() {
      return name;
   }

   public void setName(String name) {
      this.name = name;
   }
}
创建视图
让我们使用以下内容创建HelloWorld.jsp:
<%@ page contentType = "text/html; charset = UTF-8" %>
<%@ taglib prefix = "s" uri = "/struts-tags" %>

<html>
   <head>
      <title>Hello World</title>
   </head>

   <body>
      <h2>Example of Generator Tag</h2>
      <h3>The colours of rainbow:</h3>

      <s:generator val = "%{'Violet,Indigo,Blue,
         Green,Yellow,Orange,Red '}" count = "7" separator = ",">

         <s:iterator>
            <s:property /><br/>
         </s:iterator>
      </s:generator>

   </body>
</html>
接下来,让我们使用以下内容创建employees.jsp:
<%@ page contentType = "text/html; charset = UTF-8"%>
<%@ taglib prefix = "s" uri = "/struts-tags"%>

<html>
   <head>
      <title>Employees</title>
   </head>

   <body>
      <p>An example of the include tag: </p>
      <s:include value = "HelloWorld.jsp"/>
   </body>
</html>
配置文件
你的struts.xml应该如下所示:
<?xml version = "1.0" Encoding = "UTF-8"?>
<!DOCTYPE struts PUBLIC
   "-//Apache Software Foundation//DTD Struts Configuration 2.0//EN"
   "http://struts.apache.org/dtds/struts-2.0.dtd">
<struts>
   <constant name = "struts.devMode" value = "true" />
   <package name = "helloworld" extends = "struts-default">

      <action name = "hello"
         class = "com.tutorialspoint.struts2.HelloWorldAction"
         method = "execute">
         <result name = "success">/HelloWorld.jsp</result>
      </action>

      <action name = "employee"
         class = "com.tutorialspoint.struts2.Employee"
         method = "execute">
         <result name = "success">/employee.jsp</result>
      </action>

   </package>
</struts>
你的web.xml应该如下所示:
<?xml version = "1.0" Encoding = "UTF-8"?>
<web-app xmlns:xsi = "http://www.w3.org/2001/XMLSchema-instance"
   xmlns = "http://java.sun.com/xml/ns/javaee"
   xmlns:web = "http://java.sun.com/xml/ns/javaee/web-app_2_5.xsd"
   xsi:schemaLocation = "http://java.sun.com/xml/ns/javaee
   http://java.sun.com/xml/ns/javaee/web-app_3_0.xsd"
   id = "WebApp_ID" version = "3.0">

   <display-name>Struts 2</display-name>

   <welcome-file-list>
      <welcome-file>index.jsp</welcome-file>
   </welcome-file-list>

   <filter>
      <filter-name>struts2</filter-name>
      <filter-class>
         org.apache.struts2.dispatcher.FilterDispatcher
      </filter-class>
   </filter>

   <filter-mapping>
      <filter-name>struts2</filter-name>
      <url-pattern>/*</url-pattern>
   </filter-mapping>
</web-app>
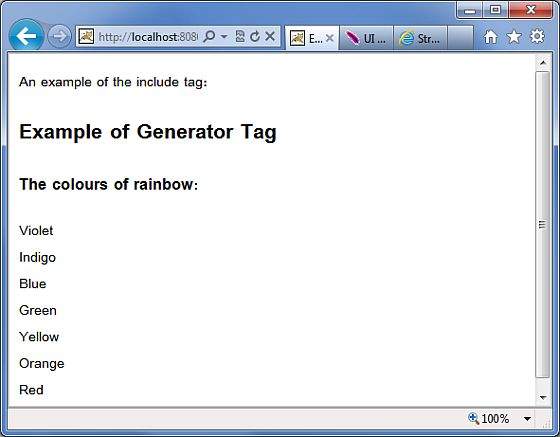
右键单击项目名称,然后单击导出 > WAR文件以创建WAR文件。然后将此WAR部署到Tomcat的webapps目录中。最后,启动Tomcat服务器并尝试访问URL https://:8080/HelloWorldStruts2/employee.action。这将生成以下屏幕:
struts_data_tags.htm
广告