
 数据结构
数据结构 网络
网络 关系数据库管理系统 (RDBMS)
 操作系统
操作系统 Java
Java iOS
iOS HTML
HTML CSS
CSS Android
 Python
 C 编程
C 编程 C++
C++ C#
C# MongoDB
 MySQL
MySQL Javascript
 PHP
PHP解释 React Native 中 SafeViewArea 的重要性?
SafeViewArea 组件旨在将您的内容显示在设备的安全边界内。它负责添加填充,并确保不会用导航栏、工具栏、标签栏等覆盖您的内容。此组件仅适用于 iOS 设备,以下是一个可运行的示例。
让我们通过一个示例来了解使用 SafeAreaView 的优势。
考虑以下使用 View 组件显示文本“欢迎来到 Tutorialspoint!”的示例。
示例
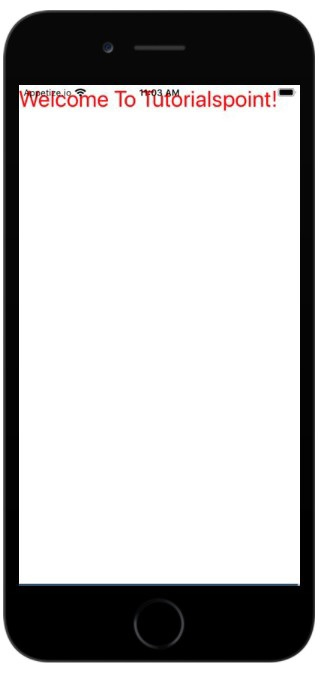
在 View 组件内显示文本“欢迎来到 Tutorialspoint!”
View 组件上使用了 style flex: 1。文本组件包装在 View 组件内,并显示文本“欢迎来到 Tutorialspoint!”。如果查看输出,默认情况下文本会在状态栏上渲染。
import React from 'react';
import { StyleSheet, Text, View } from 'react-native';
const App = () => {
   return (
      <View style={styles.container}>
         <Text style={{ color:'red', fontSize:'30'}}>Welcome To Tutorialspoint!</Text>
            </View>
      );
   }
   const styles = StyleSheet.create({
      container: {
         flex: 1
      },
   });
export default App;
输出
现在让我们看看在 iOS 中使用 SafeAreaView 的相同示例。
示例:SafeAreaView 的工作原理
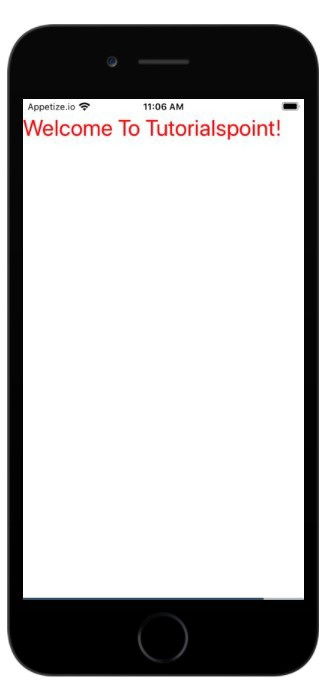
在下面的示例中,我们用 SafeAreaView 替换了 View 组件。
要使用 SafeViewArea,您必须按如下方式导入它:
import { SafeAreaView } from 'react-native';现在,如果您查看输出,您将看到 Text 组件添加了填充,并且现在它不会与状态栏重叠。
import React from 'react';
import { StyleSheet, Text, SafeAreaView } from 'react-native';
const App = () => {
   return (
      <SafeAreaView style={styles.container}>
         <Text style={{ color:'red', fontSize:'30'}}>Welcome To Tutorialspoint!</Text>
            </SafeAreaView>
      );
   }
   const styles = StyleSheet.create({
   container: {
      flex: 1
   },
});
export default App;
输出

更新于:2021年7月1日
238 次浏览

广告