- TensorFlow 教程
- TensorFlow - 首页
- TensorFlow - 简介
- TensorFlow - 安装
- 理解人工智能
- 数学基础
- 机器学习与深度学习
- TensorFlow - 基础
- 卷积神经网络
- 循环神经网络
- TensorBoard 可视化
- TensorFlow - 词嵌入
- 单层感知器
- TensorFlow - 线性回归
- TFLearn 及其安装
- CNN 和 RNN 的区别
- TensorFlow - Keras
- TensorFlow - 分布式计算
- TensorFlow - 导出
- 多层感知器学习
- 感知器的隐藏层
- TensorFlow - 优化器
- TensorFlow - XOR 实现
- 梯度下降优化
- TensorFlow - 构建图
- 使用 TensorFlow 进行图像识别
- 神经网络训练建议
- TensorFlow 有用资源
- TensorFlow - 快速指南
- TensorFlow - 有用资源
- TensorFlow - 讨论
TensorFlow - 安装
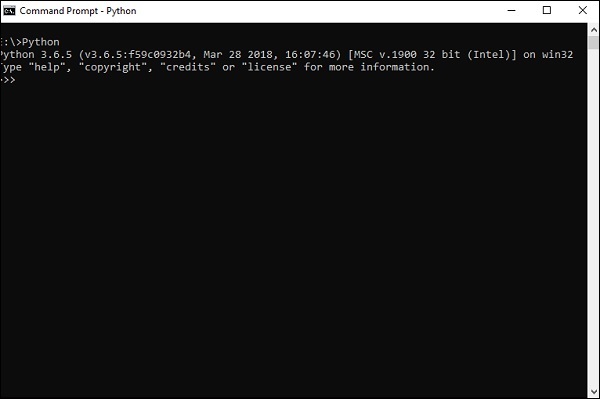
要安装 TensorFlow,系统中必须安装“Python”。Python 3.4+ 版本被认为是开始 TensorFlow 安装的最佳版本。
请考虑以下在 Windows 操作系统中安装 TensorFlow 的步骤。
步骤 1 - 验证已安装的 Python 版本。
步骤 2 - 用户可以选择任何机制在系统中安装 TensorFlow。我们推荐使用“pip”和“Anaconda”。Pip 是一个用于在 Python 中执行和安装模块的命令。
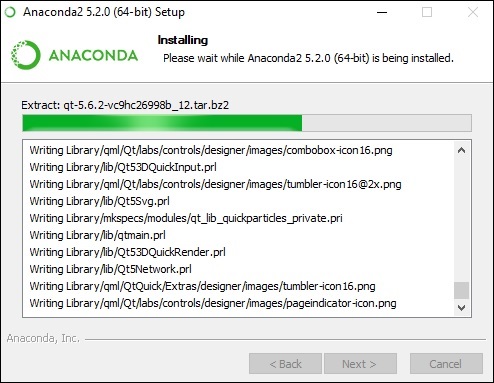
在安装 TensorFlow 之前,我们需要在系统中安装 Anaconda 框架。
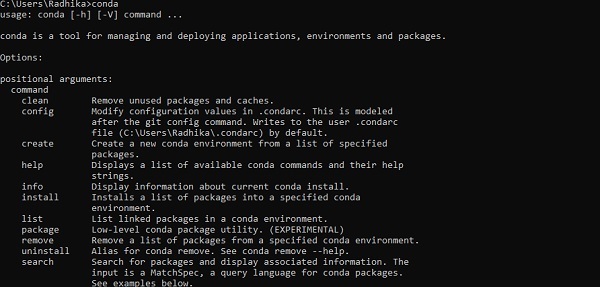
安装成功后,通过“conda”命令在命令提示符中进行检查。命令执行如下所示:
步骤 3 - 执行以下命令初始化 TensorFlow 的安装:
conda create --name tensorflow python = 3.5
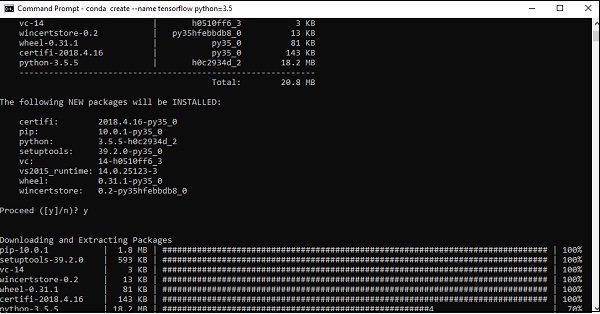
它会下载 TensorFlow 设置所需的必要软件包。
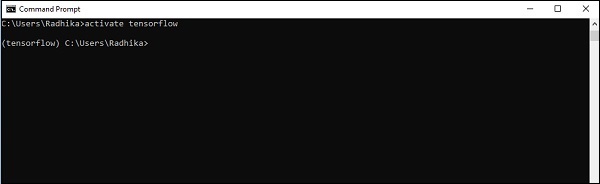
步骤 4 - 环境设置成功后,务必激活 TensorFlow 模块。
activate tensorflow
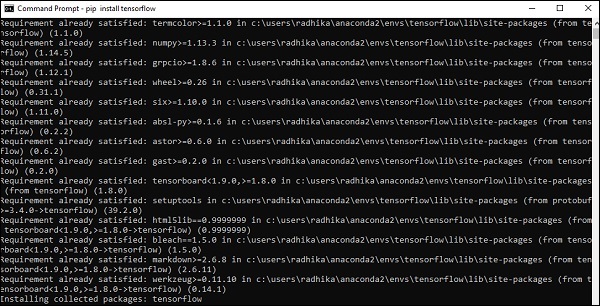
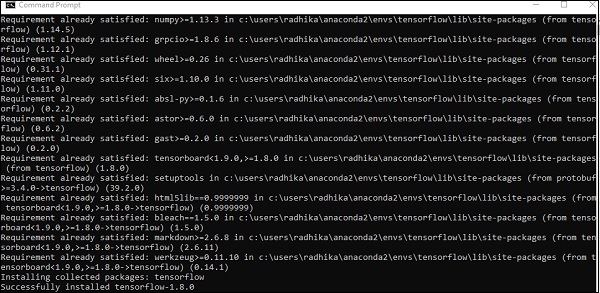
步骤 5 - 使用 pip 在系统中安装“Tensorflow”。用于安装的命令如下所示:
pip install tensorflow
以及
pip install tensorflow-gpu
安装成功后,了解 TensorFlow 的示例程序执行非常重要。
以下示例帮助我们了解 TensorFlow 中基本的“Hello World”程序创建。
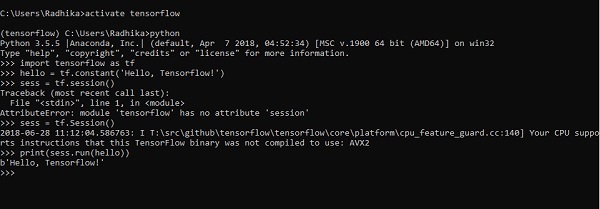
第一个程序实现的代码如下所示:
>> activate tensorflow
>> python (activating python shell)
>> import tensorflow as tf
>> hello = tf.constant(‘Hello, Tensorflow!’)
>> sess = tf.Session()
>> print(sess.run(hello))
广告