- WPF 教程
- WPF - 首页
- WPF - 概述
- WPF - 环境设置
- WPF - Hello World
- WPF - XAML 概述
- WPF - 元素树
- WPF - 依赖属性
- WPF - 路由事件
- WPF - 控件
- WPF - 布局
- WPF - 布局嵌套
- WPF - 输入
- WPF - 命令行
- WPF - 数据绑定
- WPF - 资源
- WPF - 模板
- WPF - 样式
- WPF - 触发器
- WPF - 调试
- WPF - 自定义控件
- WPF - 异常处理
- WPF - 本地化
- WPF - 交互
- WPF - 2D 图形
- WPF - 3D 图形
- WPF - 多媒体
- WPF 有用资源
- WPF - 快速指南
- WPF - 有用资源
- WPF - 讨论
WPF - 本地化
本地化是指将应用程序资源翻译成针对应用程序支持的特定文化版本的翻译。
当您开发应用程序并且您的应用程序仅以一种语言提供时,您就限制了客户数量和业务规模。如果您想扩大客户群,从而扩大业务,那么您的产品必须面向全球受众,并且能够被全球受众访问。产品具有成本效益的本地化是接触更多客户的最佳和最经济的方法之一。
在 WPF 中,使用resx文件可以非常轻松地创建可本地化的应用程序,这是本地化的最简单解决方案。让我们来看一个简单的例子来了解它是如何工作的:
创建一个名为WPFLocalization的新 WPF 项目。
在您的解决方案资源管理器中,您将在“属性”文件夹下看到 Resources.resx 文件。
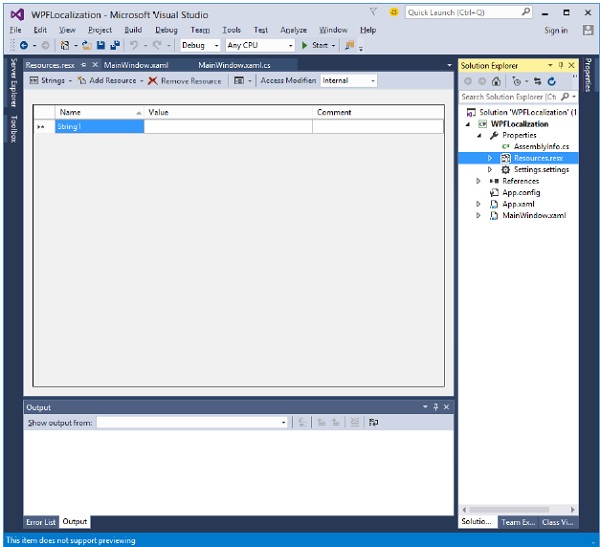
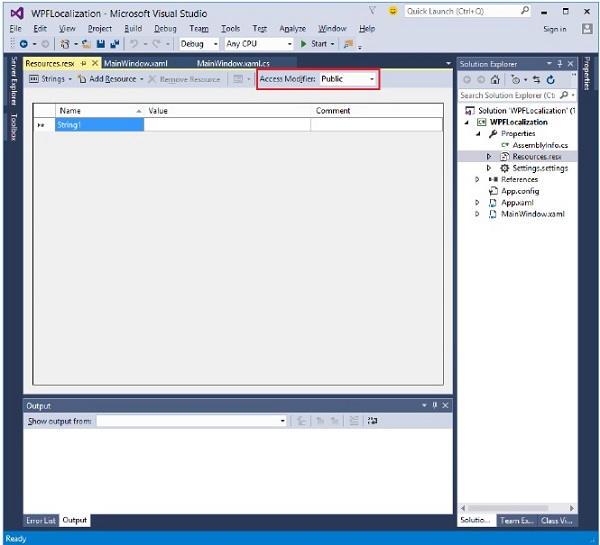
将访问修饰符从 internal 更改为 public,以便它可以在 XAML 文件中访问。
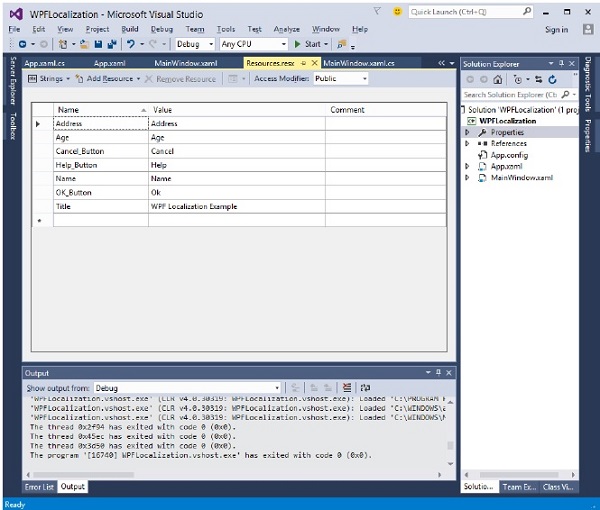
现在添加以下字符串的名称和值,我们将在应用程序中使用它们。
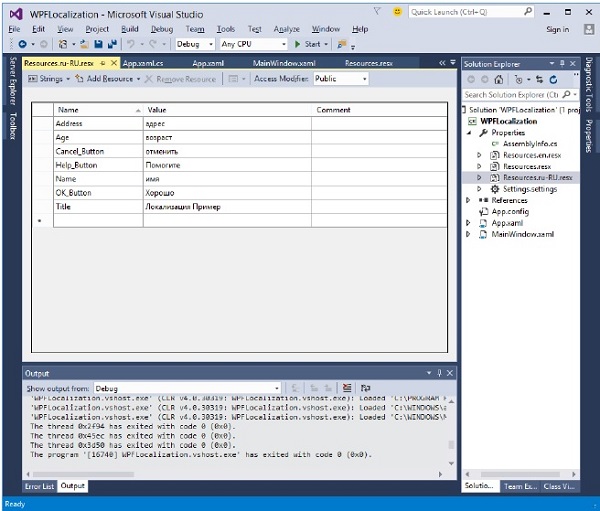
创建 Resources.resx 文件的两个副本,名称分别为 Resources.en.resx 和 Resources.ru-RU.resx。这些是特定于语言和国家/地区名称的命名约定,可以在国家语言支持 (NLS) API 参考(https://msdn.microsoft.com/en-us/goglobal/bb896001.aspx)页面上找到。
将 Resources.ru-RU.resx 中的值更改为俄语单词,如下所示。
让我们转到设计窗口,并拖动三个文本框、三个标签和三个按钮。
在 XAML 文件中,首先添加命名空间声明以使用本地化资源 xmlns:p = "clr-namespace:WPFLocalization.Properties"
设置所有控件的属性,如下所示。在本例中,我们不会在 XAML 文件中为标签、按钮和窗口标题的内容使用硬编码字符串。我们将使用在 *.resx 文件中定义的字符串。例如,对于窗口标题,我们使用在 *.resx 文件中定义的 Title 字符串,如下所示 “Title = "{x:Static p:Resources.Title}"”
以下是创建控件并使用不同属性进行初始化的 XAML 文件。
<Window x:Class = "WPFLocalization.MainWindow"
   xmlns = "http://schemas.microsoft.com/winfx/2006/xaml/presentation"
   xmlns:x = "http://schemas.microsoft.com/winfx/2006/xaml"
   xmlns:local = "clr-namespace:WPFLocalization"
   xmlns:p = "clr-namespace:WPFLocalization.Properties"
   Title = "{x:Static p:Resources.Title}" Height = "350" Width = "604">

   <Grid>
      <TextBox x:Name = "textBox" HorizontalAlignment = "Left" Height = "23"
         Margin = "128,45,0,0" TextWrapping = "Wrap" VerticalAlignment = "Top" Width = "304"/>

      <Label x:Name = "label" Content = "{x:Static p:Resources.Name}"
         HorizontalAlignment = "Left" Margin = "52,45,0,0" VerticalAlignment = "Top" Width = "86"/>

      <TextBox x:Name = "textBox1" HorizontalAlignment = "Left" Height = "23"
         Margin = "128,102,0,0" TextWrapping = "Wrap" VerticalAlignment = "Top" Width = "304"/>

      <Label x:Name = "label1" Content = "{x:Static p:Resources.Address}"
         HorizontalAlignment = "Left" Margin = "52,102,0,0" VerticalAlignment = "Top" Width = "86"/>

      <TextBox x:Name = "textBox2" HorizontalAlignment = "Left" Height = "23"
         Margin = "128,157,0,0" TextWrapping = "Wrap" VerticalAlignment = "Top" Width = "80"/>

      <Label x:Name = "label2" Content = "{x:Static p:Resources.Age}"
         HorizontalAlignment = "Left" Margin = "52,157,0,0" VerticalAlignment = "Top" Width = "86"/>

      <Button x:Name = "button" Content = "{x:Static p:Resources.OK_Button}"
         HorizontalAlignment = "Left" Margin = "163,241,0,0" VerticalAlignment = "Top" Width = "75"/>

      <Button x:Name = "button1" Content = "{x:Static p:Resources.Cancel_Button}"
         HorizontalAlignment = "Left" Margin = "282,241,0,0" VerticalAlignment = "Top" Width = "75"/>

      <Button x:Name = "button2" Content = "{x:Static p:Resources.Help_Button}"
         HorizontalAlignment = "Left" Margin = "392,241,0,0" VerticalAlignment = "Top" Width = "75"/>
   </Grid>

 </Window>
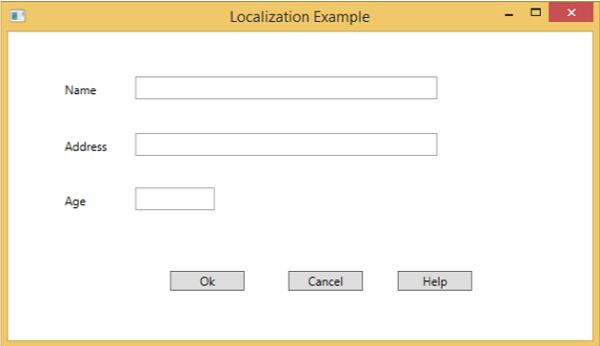
编译并执行上述代码后,您将看到以下包含不同控件的窗口。
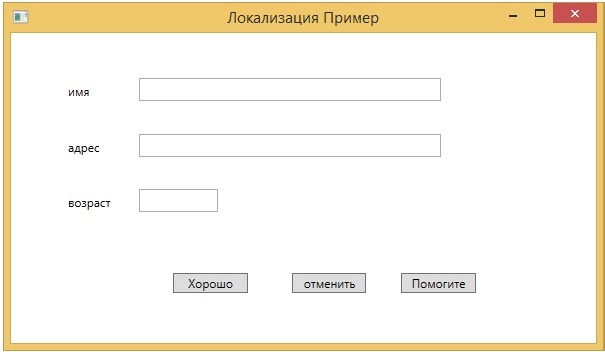
默认情况下,程序使用默认的 Resources.resx。如果您想显示在 Resources.ru-RU.resx 文件中定义的俄语文本,则需要在程序启动时在 App.xaml 文件中显式设置区域性,如下所示。
using System.Windows;

namespace WPFLocalization {
   /// <summary>
      /// Interaction logic for App.xaml
   /// </summary>

   public partial class App : Application {

      App() {
         System.Threading.Thread.CurrentThread.CurrentUICulture = new System.Globalization.CultureInfo("ru-RU");
         //System.Threading.Thread.CurrentThread.CurrentUICulture = new System.Globalization.CultureInfo("en");
      }
   }
}
运行应用程序后,您将看到所有文本都为俄语。
我们建议您执行上述代码,并为其他文化创建 resx 文件。