- Python Pillow 教程
- Python Pillow - 首页
- Python Pillow - 概述
- Python Pillow - 环境设置
- 基本图像操作
- Python Pillow - 图像处理
- Python Pillow - 调整图像大小
- Python Pillow - 翻转和旋转图像
- Python Pillow - 裁剪图像
- Python Pillow - 为图像添加边框
- Python Pillow - 识别图像文件
- Python Pillow - 合并图像
- Python Pillow - 剪切和粘贴图像
- Python Pillow - 滚动图像
- Python Pillow - 在图像上写入文本
- Python Pillow - ImageDraw 模块
- Python Pillow - 合并两张图像
- Python Pillow - 创建缩略图
- Python Pillow - 创建水印
- Python Pillow - 图像序列
- Python Pillow 颜色转换
- Python Pillow - 图像上的颜色
- Python Pillow - 使用颜色创建图像
- Python Pillow - 将颜色字符串转换为 RGB 颜色值
- Python Pillow - 将颜色字符串转换为灰度值
- Python Pillow - 通过更改像素值来更改颜色
- 图像处理
- Python Pillow - 降噪
- Python Pillow - 更改图像模式
- Python Pillow - 图像合成
- Python Pillow - 使用 Alpha 通道
- Python Pillow - 应用透视变换
- 图像滤镜
- Python Pillow - 为图像添加滤镜
- Python Pillow - 卷积滤镜
- Python Pillow - 模糊图像
- Python Pillow - 边缘检测
- Python Pillow - 浮雕图像
- Python Pillow - 增强边缘
- Python Pillow - 锐化遮罩滤镜
- 图像增强和校正
- Python Pillow - 增强对比度
- Python Pillow - 增强锐度
- Python Pillow - 增强色彩
- Python Pillow - 校正色彩平衡
- Python Pillow - 去噪
- 图像分析
- Python Pillow - 提取图像元数据
- Python Pillow - 识别颜色
- 高级主题
- Python Pillow - 创建动画 GIF
- Python Pillow - 批量处理图像
- Python Pillow - 转换图像文件格式
- Python Pillow - 为图像添加填充
- Python Pillow - 颜色反转
- Python Pillow 与 NumPy 的结合使用
- Python Pillow 与 Tkinter BitmapImage 和 PhotoImage 对象结合使用
- Image 模块
- Python Pillow - 图像混合
- Python Pillow 有用资源
- Python Pillow - 快速指南
- Python Pillow - 函数参考
- Python Pillow - 有用资源
- Python Pillow - 讨论
Python Pillow - ImageGrab.grab()函数
Pillow 库中的 ImageGrab 模块提供了捕获屏幕或剪贴板内容并将其作为 PIL 图像存储在内存中的功能。
ImageGrab.grab() 函数用于捕获屏幕快照。如果指定了边界框,则边界框内的像素将作为 macOS 上的“RGBA”图像或其他平台上的“RGB”图像检索。如果没有指定边界框,则会复制整个屏幕内容。
语法
以下是该函数的语法:
PIL.ImageGrab.grab(bbox=None, include_layered_windows=False, all_screens=False, xdisplay=None)
参数
以下是此函数参数的详细信息:
bbox - 定义要捕获的区域。如果省略,则该函数会捕获整个屏幕。在 Windows 操作系统上,如果使用 all_screens=True,则左上角点可能为负数。
include_layered_windows - 如果为 True,则包含分层窗口。此参数特定于 Windows 操作系统,并在 6.1.0 版本中引入。
all_screens - 如果为 True,则捕获所有显示器。此参数特定于 Windows 操作系统,并在 6.2.0 版本中引入。
xdisplay - X11 显示地址。传递 None 以抓取默认系统屏幕。传递空字符串 (“”) 以在 Windows 或 macOS 上抓取默认 X11 屏幕。要检查 X11 支持,可以使用 PIL.features.check_feature() 并将 feature 设置为“xcb”。
返回值
该函数返回一个包含已捕获屏幕内容的 PIL 图像。
示例
示例 1
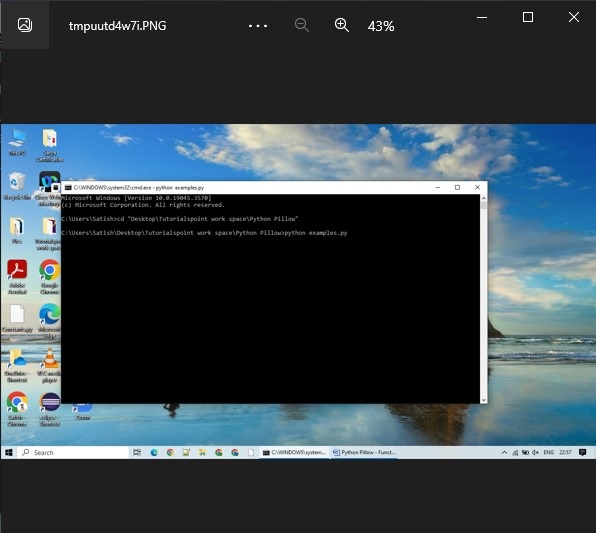
此示例使用 ImageGrab.grab() 函数捕获整个屏幕。
from PIL import ImageGrab

# Capture the entire screen
screen_image = ImageGrab.grab()

# Display the captured images
screen_image.show()
print('Captured the snapshot successfully...')
输出
Captured the snapshot successfully...
输出图像

示例 2
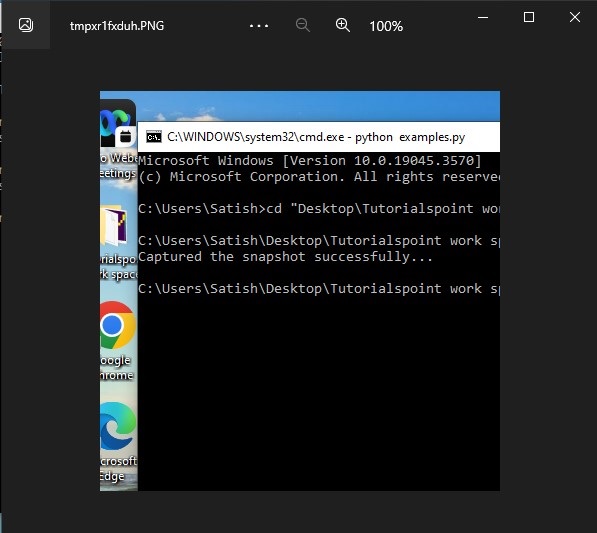
在此示例中,ImageGrab.grab() 函数用于捕获屏幕的特定区域。
from PIL import ImageGrab

# Specify bounding box
bbox = (100, 100, 500, 500)

# Capture a specific region (bbox)
captured_image = ImageGrab.grab(bbox=bbox)

# Display the captured image
captured_image.show()
print('Captured the snapshot successfully...')
输出
Captured the snapshot successfully...
输出图像

示例 3
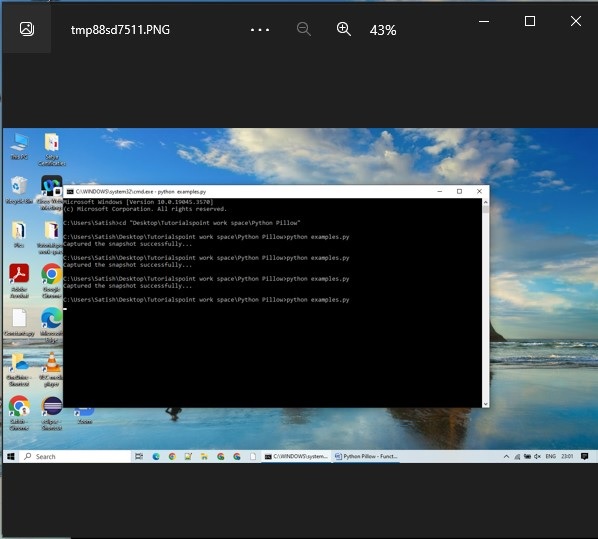
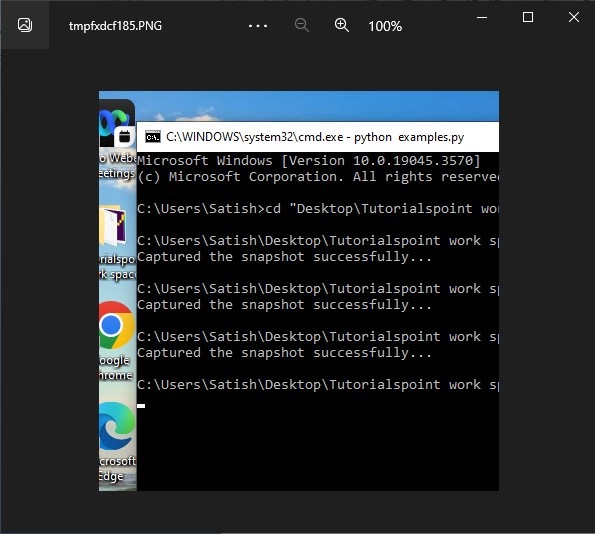
此示例首先捕获整个屏幕,然后使用 bbox 参数选择特定区域。
from PIL import ImageGrab

# Capture the entire screen
screen_image = ImageGrab.grab()

# Capture a specific region (bbox)
bbox = (100, 100, 500, 500)
region_image = ImageGrab.grab(bbox=bbox)

# Display the captured images
screen_image.show()
region_image.show()
print('Captured the snapshot successfully...')
输出
Captured the snapshot successfully...
整个屏幕

区域图像

python_pillow_function_reference.htm
广告