- SwiftUI 教程
- SwiftUI - 首页
- SwiftUI - 概述
- SwiftUI vs UIkit
- SwiftUI 环境
- SwiftUI - 环境设置
- SwiftUI - 基本组件
- SwiftUI - 构建第一个应用程序
- SwiftUI 视图
- SwiftUI - 视图
- SwiftUI - 自定义文本视图
- SwiftUI - 自定义图像视图
- SwiftUI - 堆栈
- SwiftUI 绘制形状
- SwiftUI - 形状
- SwiftUI - 绘制线条
- SwiftUI - 绘制矩形
- SwiftUI - 绘制圆角矩形
- SwiftUI - 绘制三角形
- SwiftUI - 绘制圆形
- SwiftUI - 绘制星形
- SwiftUI - 绘制多边形
- SwiftUI - 绘制饼图
- SwiftUI - 使用内置形状
- SwiftUI - 文本
- SwiftUI - 文本视图
- SwiftUI - 文本输入和输出
- SwiftUI - 颜色
- SwiftUI - 颜色
- SwiftUI - 颜色选择器
- SwiftUI - 渐变
- SwiftUI - 调整颜色
- SwiftUI - 效果
- SwiftUI - 效果
- SwiftUI - 混合效果
- SwiftUI - 模糊效果
- SwiftUI - 阴影效果
- SwiftUI - 悬停效果
- SwiftUI - 动画
- SwiftUI - 动画
- SwiftUI - 创建动画
- SwiftUI - 创建显式动画
- SwiftUI - 多个动画
- SwiftUI - 转场
- SwiftUI - 非对称转场
- SwiftUI - 自定义转场
- SwiftUI - 图片
- SwiftUI - 图像
- SwiftUI - 图片作为背景
- SwiftUI - 旋转图像
- SwiftUI - 媒体
- SwiftUI - 视图布局
- SwiftUI - 视图布局
- SwiftUI - 视图大小
- SwiftUI - 视图间距
- SwiftUI - 视图填充
- SwiftUI - 列表和表格
- SwiftUI - 列表
- SwiftUI - 静态列表
- SwiftUI - 动态列表
- SwiftUI - 自定义列表
- SwiftUI - 表格
- SwiftUI - 表单
- SwiftUI - 表单
- SwiftUI - 将表单拆分为多个部分
- SwiftUI 有用资源
- SwiftUI - 有用资源
- SwiftUI - 讨论
SwiftUI - 创建显式动画
显式动画允许我们明确定义如何在给定视图上使用何种类型的动画以及何时使用。它为开发者提供了手动控制权,以便他们能够更好地控制动画。使用显式动画,我们可以轻松地将两个或多个动画混合在一起,从而在简单和复杂的视图上创建新的效果。在 SwiftUI 中,我们可以使用 .withAnimation() 修饰符创建显式动画。
“.withAnimation()” 修饰符
“.withAnimation()” 修饰符用于在状态更改时为给定视图中存在的所有组件设置动画。或者我们可以说,它会根据在 withAnimation() 代码块中定义的状态更改代码自动为给定视图的过渡设置动画。它允许我们根据需要手动控制动画。
语法
以下是语法 -
func withAnimation<Result>(
   _animation: Animation? = .default,
   _body: () throws -> Result
)rethrows -> Result
示例 1
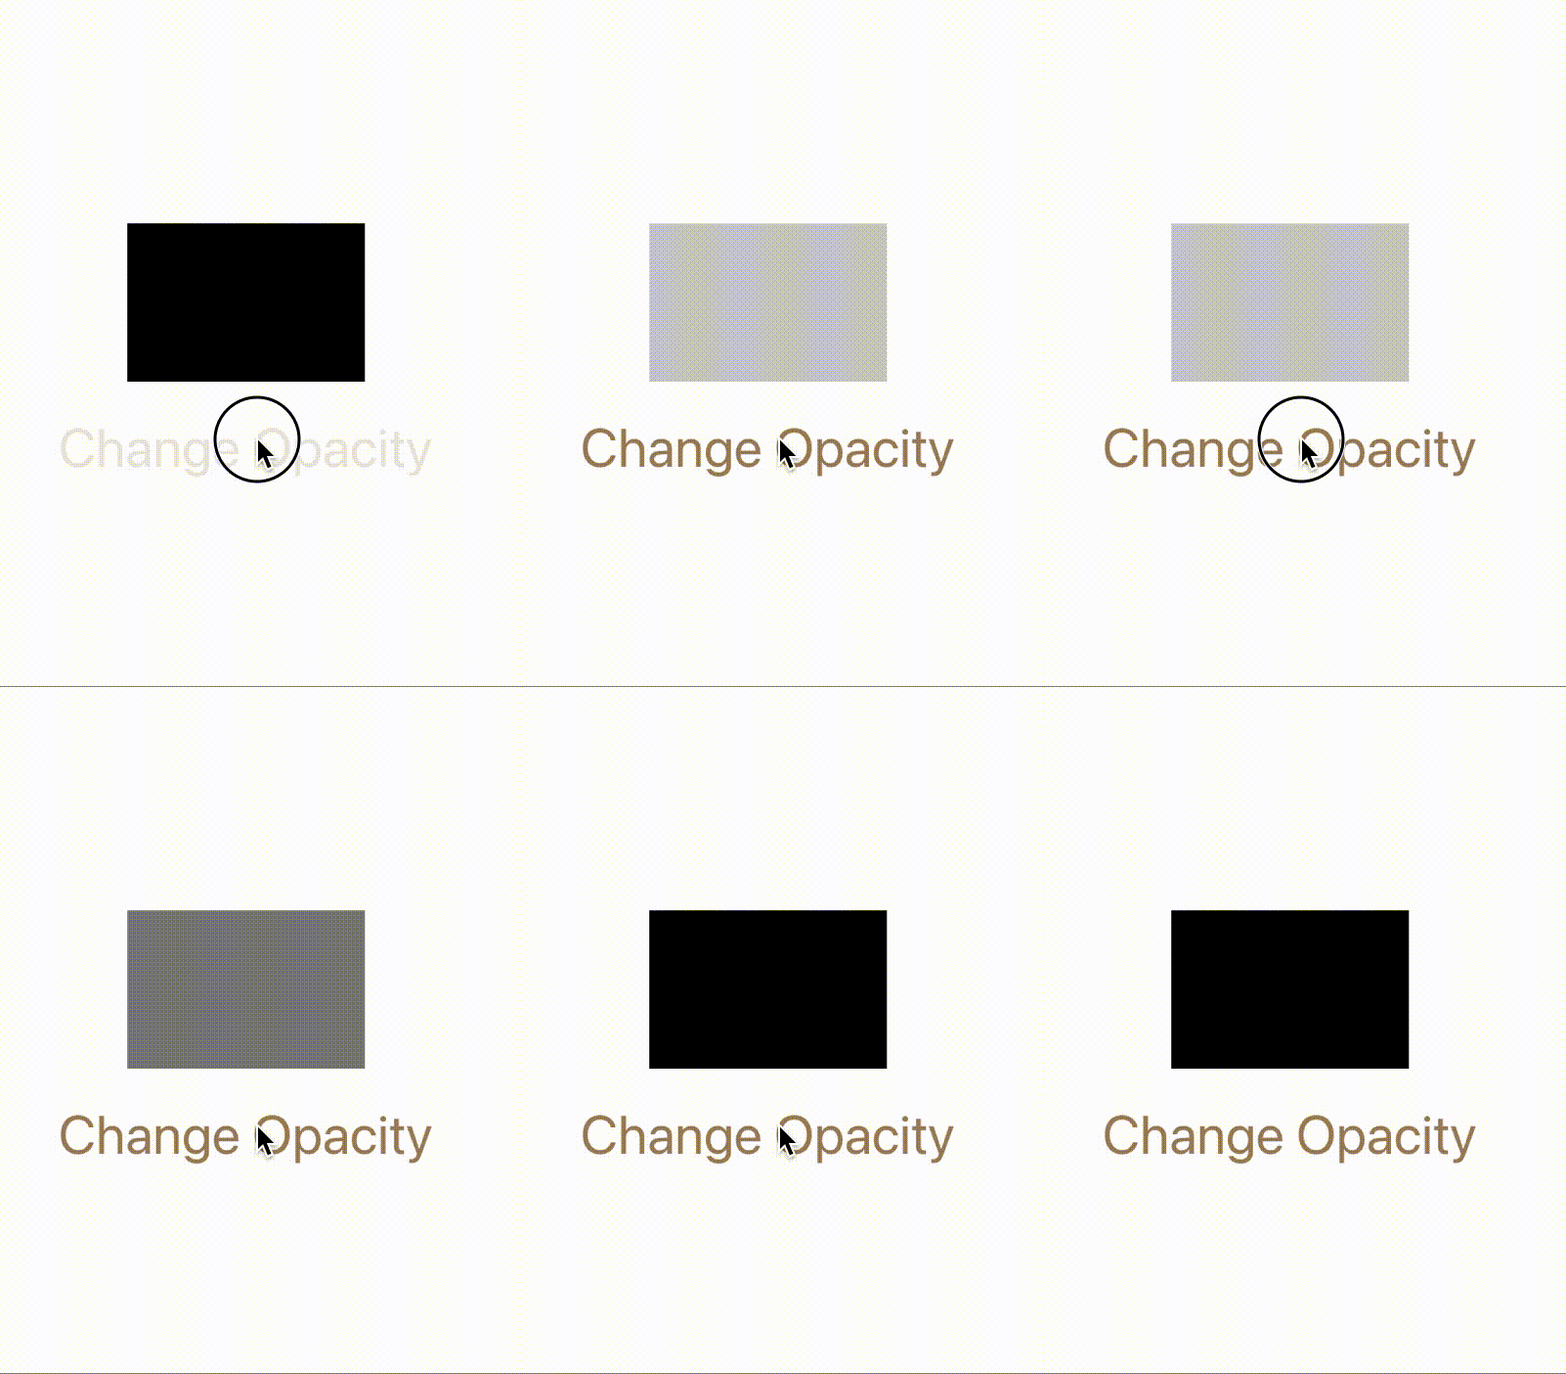
以下 SwiftUI 程序用于创建显式动画。在这里,我们通过单击按钮来更改矩形的透明度。
import SwiftUI

struct ContentView: View {
   @State private var myOpacity = false
   var body: some View {
      Rectangle()
         .frame(width: 150, height: 100)
         .opacity(myOpacity ? 0.2 : 2)
      Button("Change Opacity"){
         withAnimation(.easeInOut(duration: 1.3)){
            myOpacity.toggle()
         }
      }.font(.largeTitle).foregroundStyle(.brown)
   }
}
#Preview {
   ContentView()
}
输出

示例 2
以下 SwiftUI 程序用于线性运行卡车。
import SwiftUI

struct ContentView: View {
   @State private var run = false
   var body: some View {
      Image(systemName: "box.truck")
         .font(.largeTitle)
         .foregroundColor(.green)
         .offset(x: run ? 1400 : -140, y: 0)
      Button("Run The Truck"){
         withAnimation(.linear(duration: 0.9)){
            run.toggle()
         }
      }.font(.title2).foregroundStyle(.brown)
   }
}
#Preview {
   ContentView()
}
输出

隐式动画与显式动画
众所周知,在 SwiftUI 中,我们可以创建两种不同类型的动画:隐式动画和显式动画。这两种动画都会为视图设置动画,但它们仍然存在一些差异,差异如下 -
| 隐式动画 | 显式动画 |
|---|---|
| 当阶段发生变化时自动触发。 | 在 withAnimation() 代码块内手动触发。 |
| 借助 .animation() 修饰符直接应用于视图。 | 应用于 withAnimation 代码块内存在的状态更改。 |
| 对动画的控制有限。 | 对动画提供了完全控制。 |
| 适用于简单的动画。 | 最适合简单和复杂的动画。 |
| 灵活性较差,但易于使用。 | 灵活性更强。 |
广告