
- Unix Commands Reference
- Unix Commands - Home
composite Command in Linux
composite is a useful tool in Linux that belongs to the ImageMagick suite of tools. The composite command enables Linux users to overlap one image over another. This command can accept several options to control the composting process. Using these options, we can specify the overlay position, set the composition method, set the overlay image's transparency level, etc.
Table of Contents
The composite command is a multi-purpose tool for performing image manipulation tasks. In this tutorial, we’ll discuss the usage of this tool along with several practical examples.
- How to Install composite Command?
- How to Use composite Command?
- Examples of composite Command in Linux
How to Install composite Command?
As discussed earlier, the composite command is a part of the ImageMagick tool, which is not pre-installed on most of the Linux distribution. Therefore, to use this tool on Linux, we need to install it on our system using the distribution’s package manager (such as apt, yum, etc.).
Installing composite Command in Ubuntu
We can use the apt package manager to install the ImageMagick tool (including composite command) in Ubuntu. For this purpose, open the terminal and run the below-mentioned command −
sudo apt install imagemagick -y
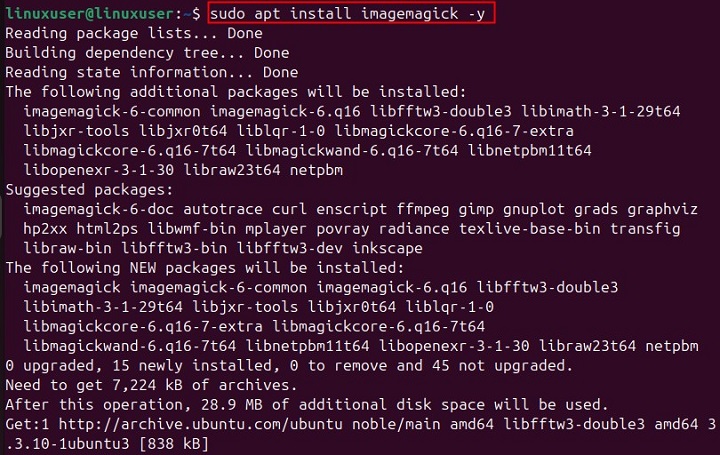
Let’s confirm the installation or availability of the composite command by checking its installed version −
composite --version

Installing Composite Command in Arch Linux
To install ImageMagick tool on Arch Linux, the Pacman package manager is used, as follows −
sudo pacman -S imagemagick
Installing Composite Command in CentOS or RHEL
Similarly, we can use the yum package manager to install ImageMagic or composite command on CentOS or RHEL −
sudo yum install epel-release
sudo yum install imagemagick
Installing Composite Command in Fedora
The DNF package manager can be used to install the ImageMagick tool including the composite command on Fedora −
sudo dnf install imagemagick
How to Use composite Command?
After installing the ImageMagick tool, you can use the composite command on Linux. To effectively use the composite command, it's important to understand its basic syntax and the valid options it accepts.
Basic Syntax of composite Command
We can use the following syntax to overlap one image on another using the composite command −
composite [options ...] change-file base-file [mask-file] output-image
Here,
- The "[options ...]" represents valid optional flags or parameters that let us customize the behavior of the composite command.
- The "change-file" represents an image that will be placed on top of the base image. The "base-file" is the image that will be placed at the bottom of the change-image (it works as a background image).
- The "mask-file" is an optional parameter that can be used to control the transparency of the "change-file".
- Finally, the "output-image" represents the final outcome that contains the "base-file" with the overlay applied according to the provided options.
composite Command Options
The table below shows some commonly used options and arguments that we can use with the composite command −
| Option | Description |
|---|---|
| -geometry geometry | It is used to specify the location or size of the image. |
| -gravity type | It specifies the image’s placement such as horizontal, vertical, etc. |
| -compose operator | It is used to set the image’s composition method. |
| -dissolve value | It sets the image’s transparency according to the specified percentage value. |
| -blend geometry | It blends images according to the given percentage. |
| -border geometry | It is used to add a border around the image. |
| -bordercolor color | It specifies the border’s color. |
| -resize geometry | It is used to resize the image. |
| -rotate degrees | It rotates the image to the specified degrees. |
| -strip | It removes/strips all profiles and comments from the image. |
| -tile | It tiles the image across the base image. |
| -thumbnail geometry | It is used to create an image’s thumbnail with the specified geometry. |
| -quality value | It sets the compression level of the output image (JPEG/MIFF/PNG). |
| -density geometry | It specifies the horizontal and vertical density of the image. |
| -depth value | It sets the image’s color depth. |
| -colors value | It preferred the number of colors in the image. |
| -colorspace type | It is used to set the image’s colorspace. |
| -filter type | It applies a filter when resizing the image. |
| -interlace type | It is used to set the interlacing scheme. |
| -comment string | It annotates an image with a comment. |
| -profile filename | It adds, removes, or applies a profile to the image. |
| -label string | It adds a label to the image. |
| -level value | It is used to adjust the image contrast levels. |
| -sharpen geometry | It sharpens the image. |
| -unsharp geometry | It is used to apply an unsharp mask to the image. |
These are just a few commonly used options; many more are available. To explore all the options in detail, you can refer to the composite command's manual page.
Man Page of composite Command
We can access the manual page of the composite command to understand its basic functionality, syntax, available options, etc. For this purpose, simply run the following command −
man composite
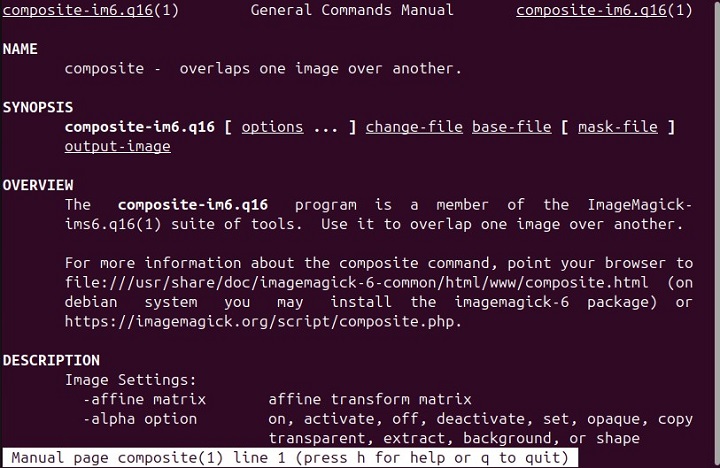
Help Page of composite Command
Similarly, we can run the composite command with the --help option to get the installed version of ImageMagick, License details, features, usage, image settings, image operations, etc. To do this, execute the composite command as follows −
composite --help
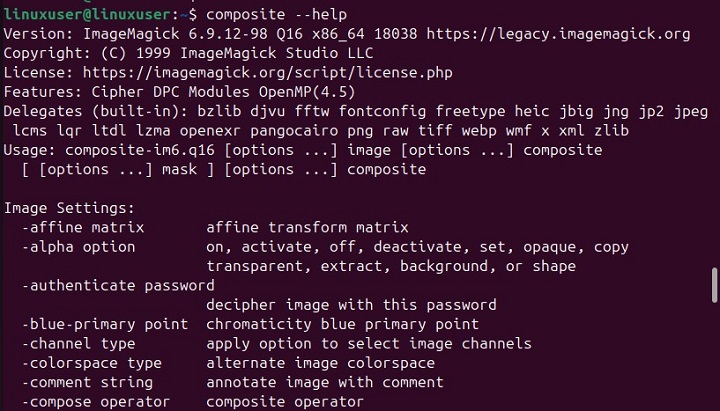
Examples of composite Command in Linux
Let’s go through the following examples to understand how the composite command practically works −
Overlaying One Image over Another
We have two images "tutorialspoint.png" and "ubuntu24.png", which are shown below −
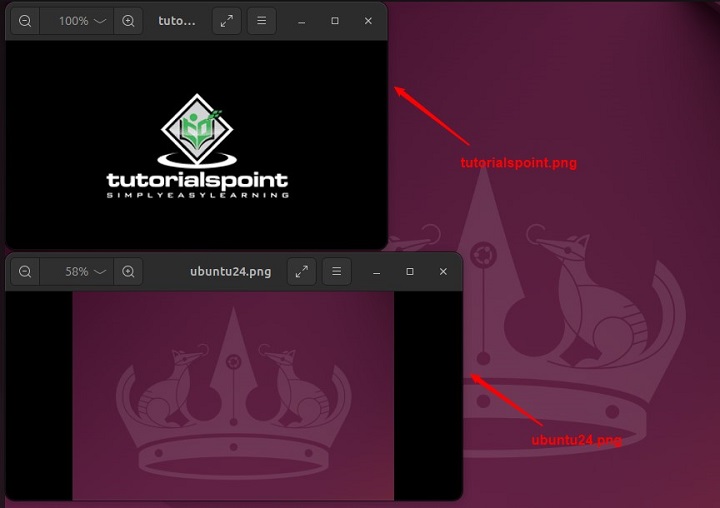
We can run the composite command with the following syntax to overlay one image over another −
composite -gravity center tutorialspoint.png ubuntu24.png result.png
This command overlays the "tutorialspoint.png" image onto the "ubuntu24.png" image and saves the output image as "result.png". Here, we use the "-gravity center" option to center the "img1.png" over the "img2.jpg", as shown below −

Blending Multiple Images
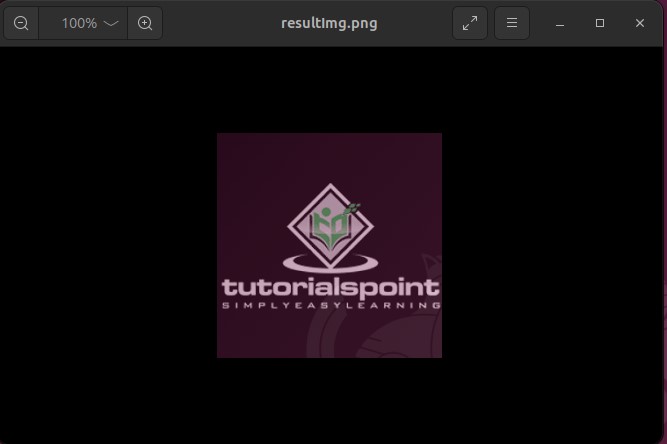
We can run the composite command with the "-blend" option to blend two images, as shown below −
composite -blend 60x60 tutorialspoint.png ubuntu24.png resultImg.png
This command blends the tutorialspoint.png and ubuntu24.png images with the specified opacity and saves the output image as resultImg.png, as shown in the following screenshot −
Tiling One Image over Another
We can run the composite command with the "-tile" option to tile one image across another −
composite -tile tutorialspoint.png ubuntu24.png outputImg.png

Overlaying One Image over Another with Transparency
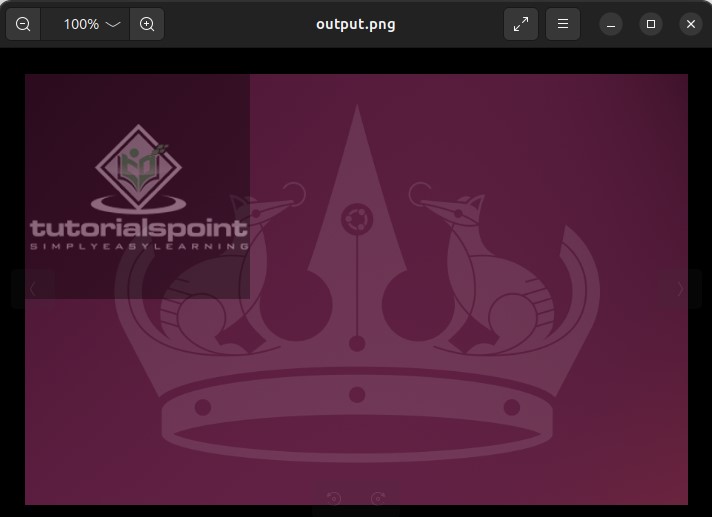
Let’s run the following command to overlay the "tutorialspoint.png" image over "ubuntu24.png" with a transparency value "35%" −
composite -dissolve 35% tutorialspoint.png ubuntu24.png output.png
Similarly, you can use other options with the composite command to perform a wide range of image manipulation tasks according to your needs.
Conclusion
The composite command is a useful tool in Linux that belongs to the ImageMagick suite. It is used to perform various image manipulation tasks on Linux. The composite command offers a range of options to customize the image manipulation process, such as overlaying images, blending them, applying transparency levels, etc.
In this tutorial, we explained how to install the composite command on different Linux distributions, explained its basic syntax and options, and provided practical examples to demonstrate its usage in Linux.